Dear reader! You might be looking for ways to replace your fishing rod guide, right? Discovering and learning new methods over the internet can be exhausting. I can feel you on this!
Whether you are a seasoned angler or have just started your fishing voyage as a passionate beginner, this article will help you learn about fishing rod guides and ways to replace them.
So, let us start our article with a quick introduction to fishing rod guides.
What exactly is a fishing rod guide?
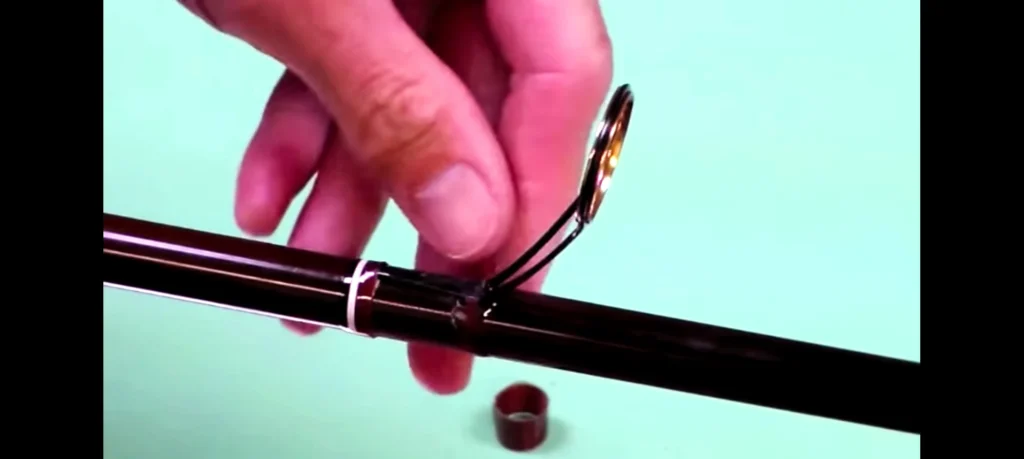
The fishing rod “guide” or “eye” is a circular component through which you pass your fishing line. They help you in controlling the movement of your fishing line. So, your fishing goes with perfection. “Guide” is a general term. However, the word “eye” refers to the actual circular part of the guide through which the fishing line passes.
Why are fishing guides needed?
Interesting question!
Fishing rod guides may seem like small components on a rod. However, they play a crucial role in fishing. I have gathered some features that fishing rod guides possess.
1) Line control:
Guides help you in controlling the movement of your fishing rod line. As the line moves along the length of the rod, they keep the fishing line in place.
2) Line flow:
Your fishing guide makes sure that the fishing line flows smoothly. It reduces friction which allows you to do more accurate casting.
3) Casting distance:
You know that guides are good at reducing friction. Less friction means free line movement, which gives you an increase in casting distance.
4) Protection:
Yup, your fishing guide protects your fishing rod as well. Some anglers go with different fishing lines that can damage the fishing rod if the fishing line gets contact with it. Thus, guides keep the line away from the rod blank.
5) Sensitivity:
Good fishing guides can help you increase the sensitivity of your fishing rod. They help in moving the vibrations from the line to your hands. So, you can detect the bites more easily.
6) Durability:
Guides made of durable materials such as ceramic, titanium, or stainless steel are very much resistant to wear and corrosion which makes them more durable.
7) Line twist prevention:
As the guides keep the line straight, this prevents the line from getting inter-twisted, especially when using a spinning wheel.
Types of fishing rod guides:
When it comes to fishing guides and their types, there is a vast collection of them out there. However, we can divide them into two groups for a better understanding.
Fishing guides based on material.
Fishing guides based on functionality.
Fishing guides based on material:
When it comes to material, you can select from the vast collection of fishing rods. I have penned down some of them below.
1) Ceramic guides:
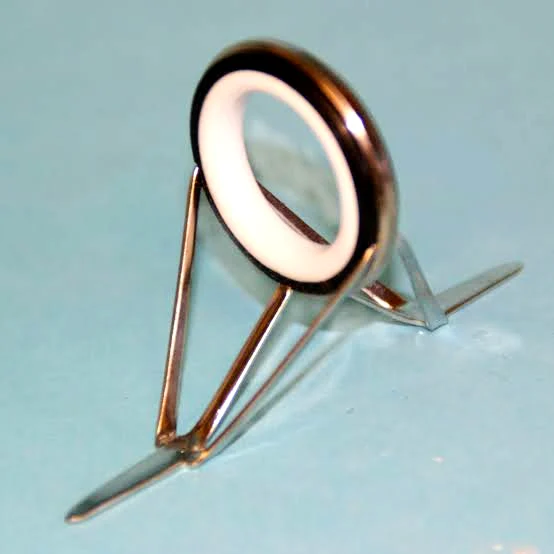
These guides fall in the category of standard rod guides. They come in different qualities that offer better performance. These guides are ideal for smooth line flow and are resistant to wear.
2) Stainless steel guides:
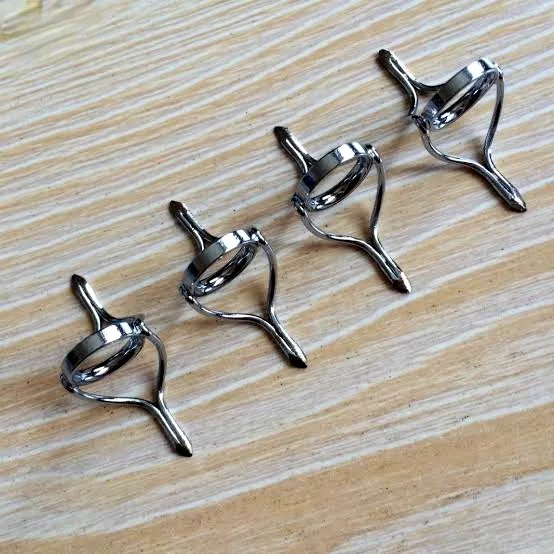
These guides are known for durability and are very much resistant to corrosion. These guides are used by anglers around the globe and they do well in both freshwater and saltwater fishing.
3) Titanium guides:
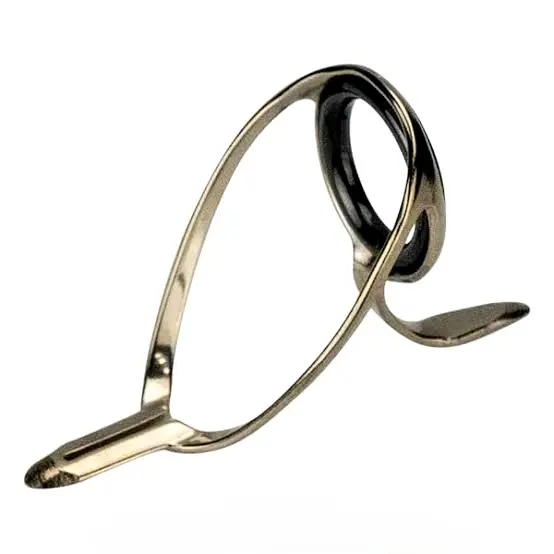
These fishing guides are known for their strength, lightweight and higher resistance to corrosion. Anglers mostly use these guides in fishing rods and they are used in saltwater fishing.
4) Plastic guides:
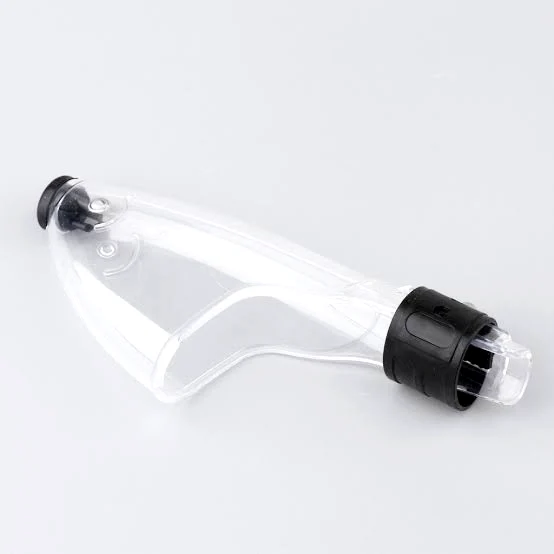
Yes, you read that right! Plastic guides are lightweight and very much cost-effective. They are a good choice for beginners or fishing rods that are built for kids.
5) Aluminum oxide guides:
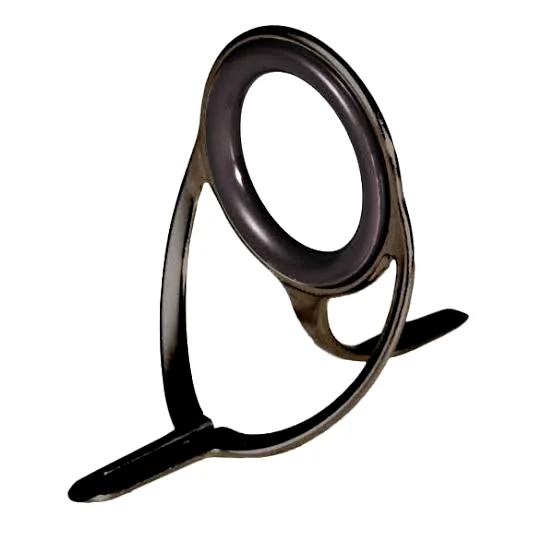
These rod guides are durable and offer better line control. Anglers often use them in budget-friendly rods. So, if you need a balance between performance and cost, then these guides are the perfect solution for you.
6) Si C guides:
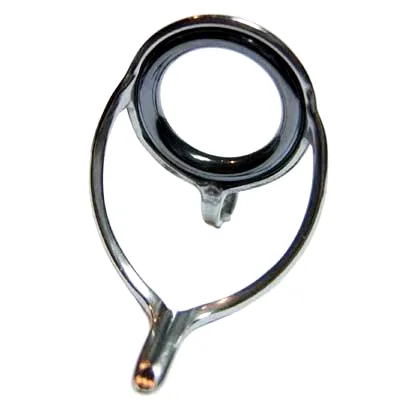
Silicon carbide guides are known for their heat dissipation, smoothness, and durability. They will help you in reducing friction and reducing heat build-up when you are battling with big fish.
7) Fuji Torzite guides:
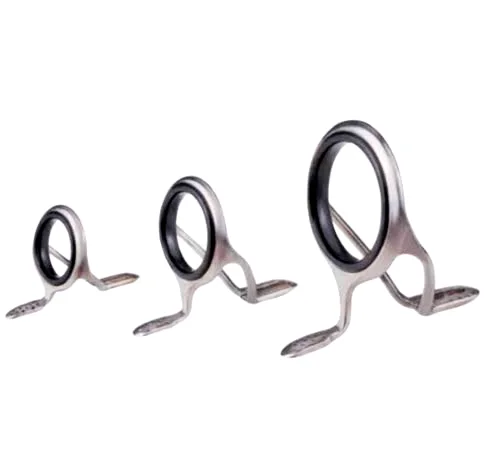
These guides are made-up of a high-quality material that helps improve the smoothness of the fishing line movement. These guides are lightweight and are often used in high-end fishing rods.
8) Nickel Titanium guides:
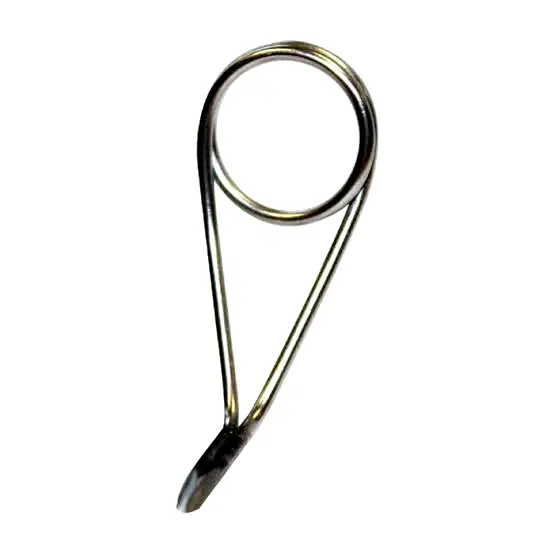
These guides are commonly known as “memory guides”. They have shape memory property which allows them to get back into their original shape after bending. This property can be very useful to you if you want to save your guides from accidents.
9) Zirconium Guides:
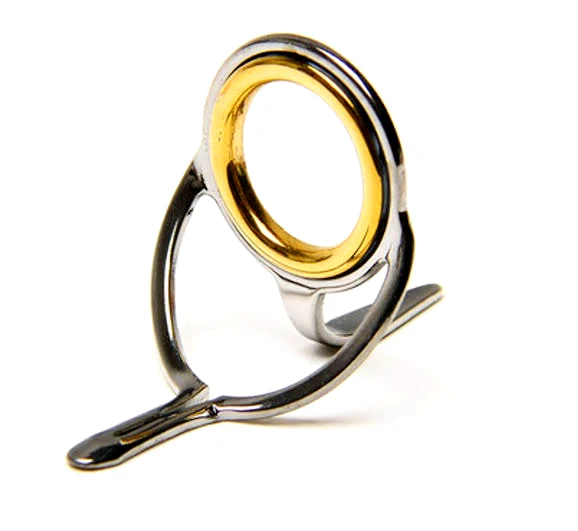
These guides are known for their hardness and heat resistance. They are an ideal choice for heavy-duty fishing rods that encounter high levels of heat and stress during fishing.
Fishing guides based on functionality:
When it comes to functionality, I have penned down some different types of rod guides that assist your fishing rod in different functions.
1) Single-foot guides:
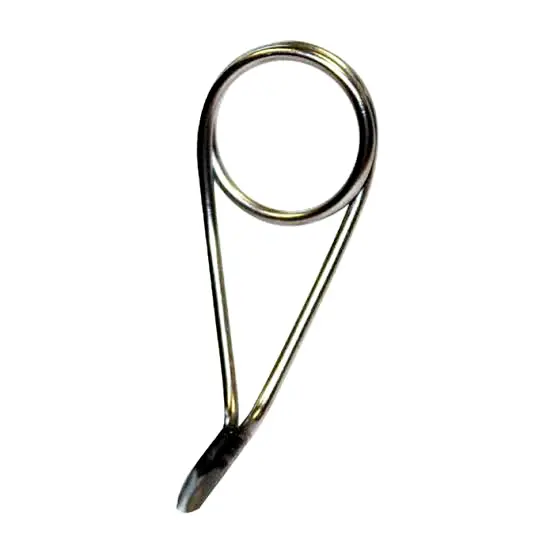
As the name suggests, these guides are very much lightweight and are directly attached to the rod blank. This kind of guide is often found in spinning rods.
2) Double-foot guides:
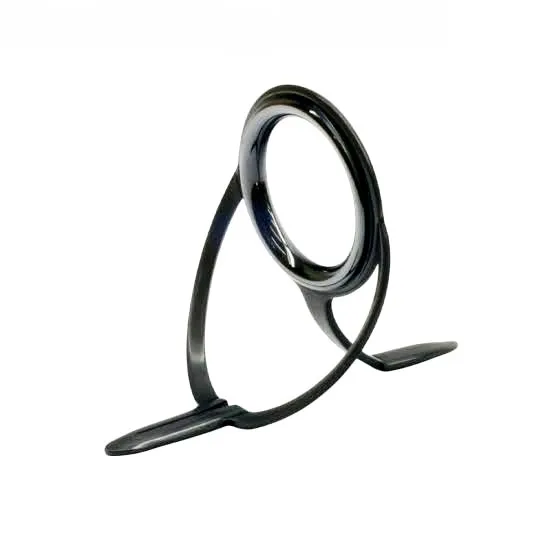
The name tells it all that these guides have two feet which helps them in stability. These guides are often used on heavy rods such as casting and trolling.
3) Micro guides:
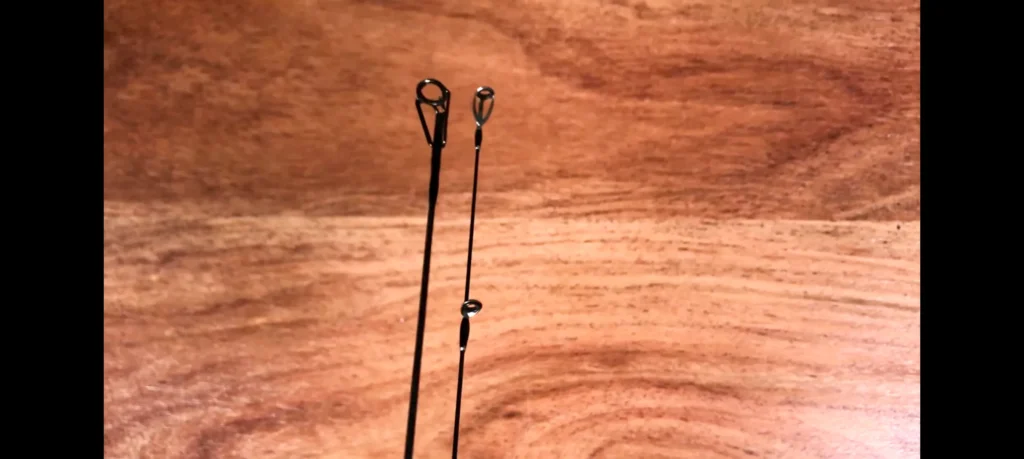
These guides are small compared to other guides. Their small structure is to reduce line friction and enhance the casting distance that you are looking for.
4) Roller guides:
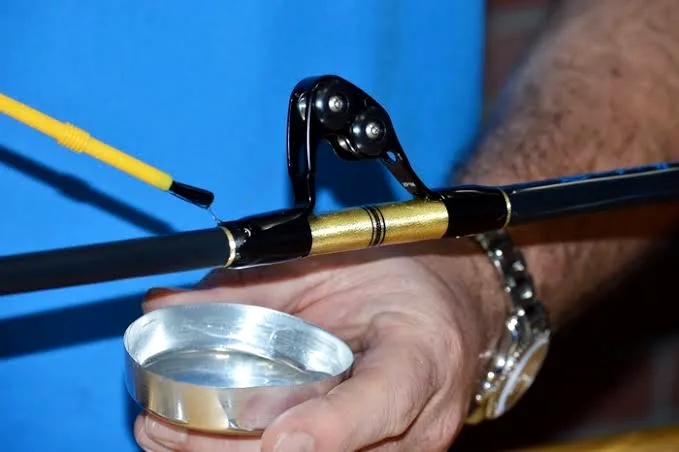
These guides are known for their rolling components. They are often used on heavy-duty fishing rods used in saltwater. So that, they can handle heavy lines and big fish very easily.
5) Fly Rod snake guides:
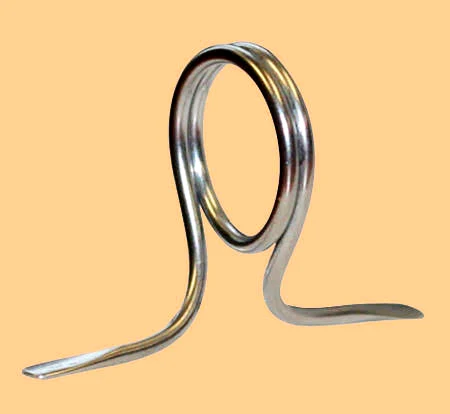
These guides are used on fly rods. These guides have large diameters which assist them in fly fishing which is done using thicker fly lines.
6) Casting guides:
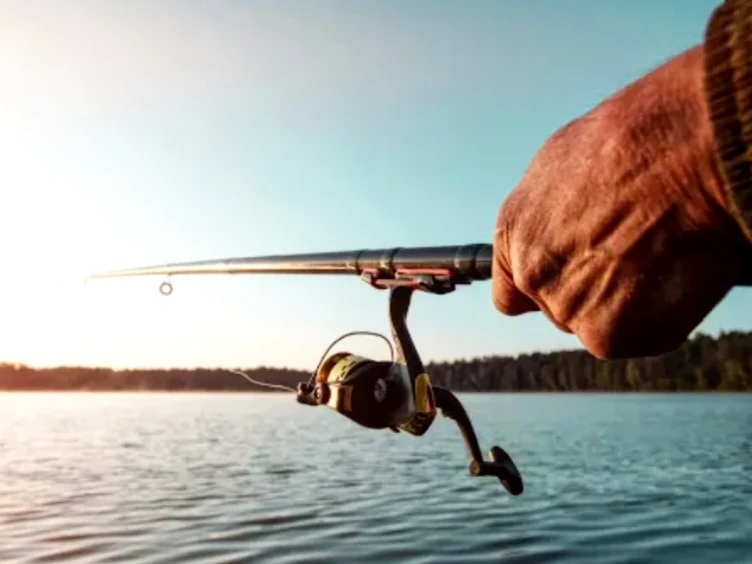
They are designed to help you in accurate and long-distance casting. These guides are often large and are placed near the rod handle. They help you a lot in controlling the line during the casting process.
7) Running guides:
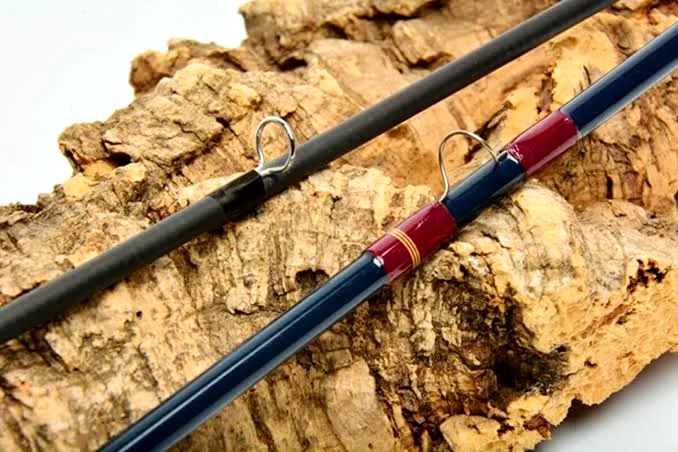
Positioned along the length of the rod blank, these guides are very much responsible for guiding the fishing line smoothly. Especially during the retrieval, they make sure that there is minimum friction to make the fishing line flow smoothly.
8) Line control guides:
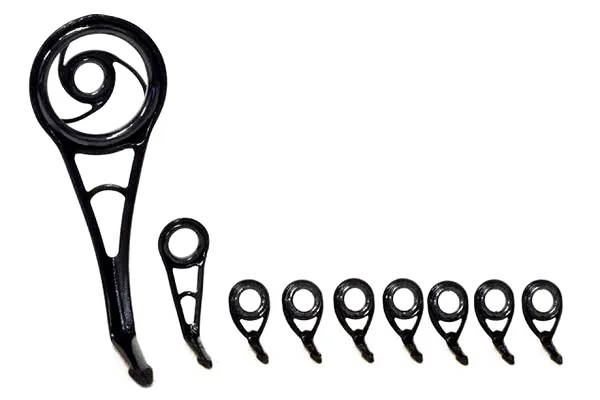
They are placed closer to the tip of the rod because these guides help in controlling the line. Specifically, during the movement or fighting against the fish movement, these guides prevent the line from tangling.
9) Tip top guide:
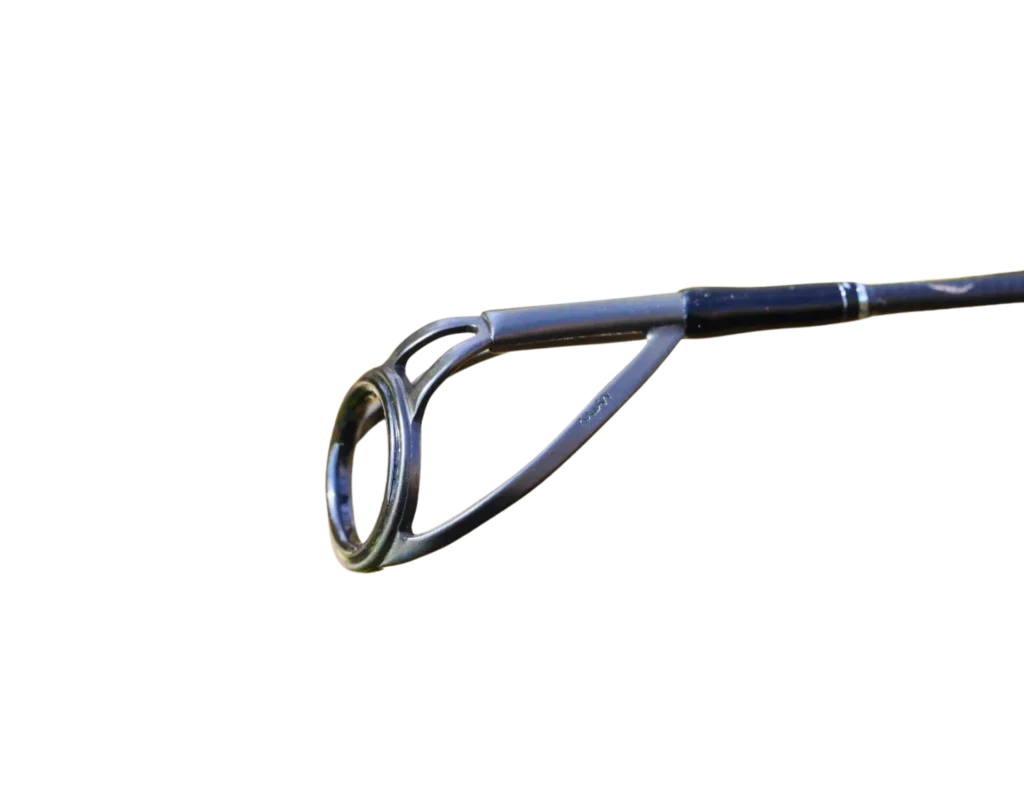
The name for these guides comes from their location because they are at the very tip of the rod. They make sure that the line transitions smoothly from the guide toward the rod tip. These guides play a crucial role in preventing the line from breaking.
10) Reduction guides:
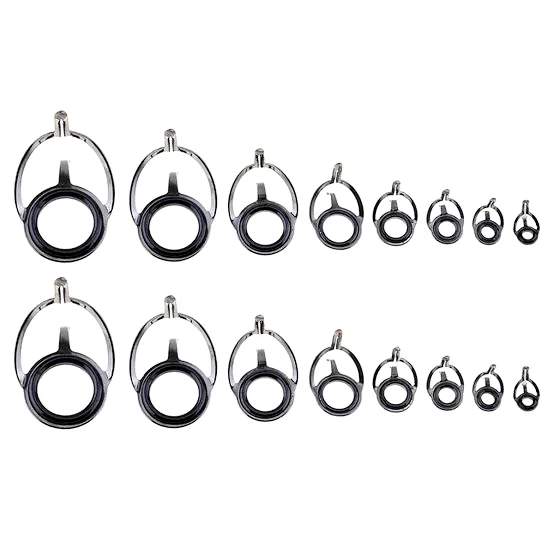
These guides are designed to minimize the line friction and they increase the casting distance. They slowly decrease in size as they move from the handle toward the tip of the rod.
11) Bait keeper guides:
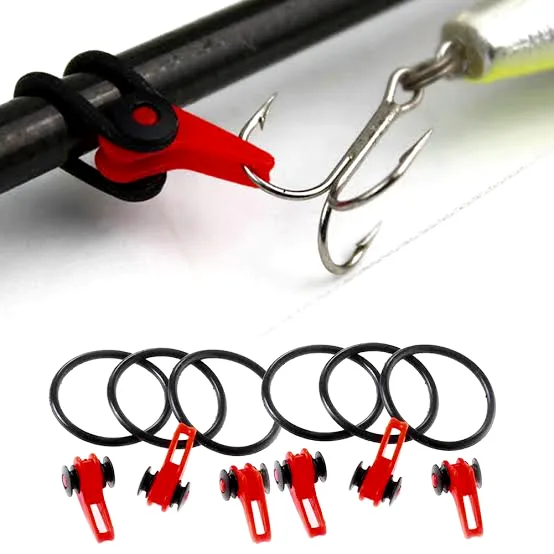
They have a small loop that helps in securing baits or lures in their place. They prevent them from sliding down from the fishing rod when they are not in use.
12) Specialized/custom guides:
Some guides are specifically designed for unique type of fishing styles which gives them the name, specialized guides. For instance, trolling guides are used for trolling, and ice fishing guides are known for adapting to the cold environment.
If you are a beginner and want to know more about the different parts of a fishing rod and their functionality, then read ‘Parts of a fishing rod’.
How to tell that your guide is damaged and needs replacement?
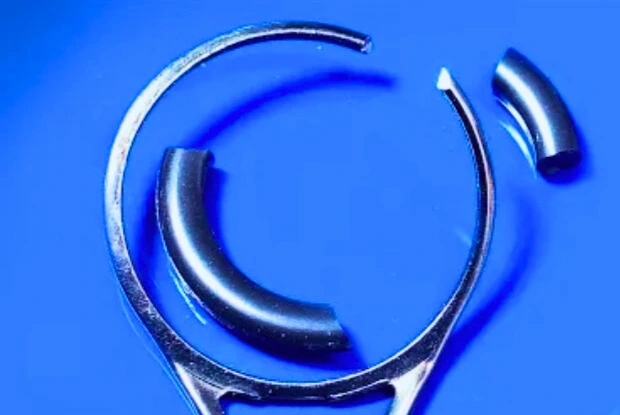
Finding the errors can sometimes be exhausting especially when you are running out of time. To ease your work, I have gathered some major points that will help you in identifying a damaged guide.
#1 Damaged line:
If your fishing line is showing you signs of fraying or excessive wear, then there is a high probability that your guide is damaged and is causing unnecessary friction.
#2 Inconsistent casting distance:
If you are noticing a change in the casting distance, it is decreased somehow or you are facing some variations in it then your guide might be behind this.
#3 Unusual sounds:
Do check for weird sounds such as squeaking or scraping during casting and retrieving. If there are any, then your guide needs replacement.
#4 Visual inspection:
Go for a careful inspection for signs of damage such as cracks, chips, missing ceramic inserts, or bent frames. Any physical deformity will hurt the performance of your fishing rod.
#5 Line Snags:
If your line gets caught often or snags during casting and retrieval, then either your guide is damaged or not in alignment.
#6 Uneven line distribution:
Do check for the line distribution after casting. If you notice the difference, there is a possibility of a damaged guide causing it.
#7 Reduced sensitivity:
If you are unable to notice bites and movements clearly from your fishing rod, then there is a possibility that your guide is damaged.
#8 Line twisting:
Excessive line twisting or tangling during casting and retrieval also indicates that your guide is damaged and needs replacement.
#9 Line breakage:
If you are facing line breakage quite frequently during the fish bites, then your damaged guide might be causing weak points in the fishing line.
How to replace a damaged fishing rod guide with a new one?
Now that you are aware of the different types of fishing guides in the market and can detect faults in your fishing guide, let us move towards a step-by-step guide to show you how to replace a guide yourself. For better understanding, I have divided this guide into two portions.
Steps for removing a broken or damaged guide.
Steps for attaching a new guide.
Supplies needed:
The foremost thing that you have to do is to get the materials that are required for removing a rod guide. I have enlisted the materials below.
- Fishing guide removal tool or small plier.
- Heat gun or hairdryer, in case your guide is a stubborn one.
- Cloth or paper towel.
- Alcohol or acetone for cleaning.
- Replacement guide.
- Epoxy adhesive for finishing.
- Guide wrapping thread.
- Small brush or applicator.
- Sandpaper. (Optional)
Steps for removing a broken or damaged guide:
Step#1 Gather your tools:
Before starting any work, make sure that you have all the tools needed because I don’t want you running during your work for supplies. This way you won’t be able to focus on your actual work and you can cause damage to your rod. So, always look around first and make sure that you are all set up for start.
Step#2 Inspection:
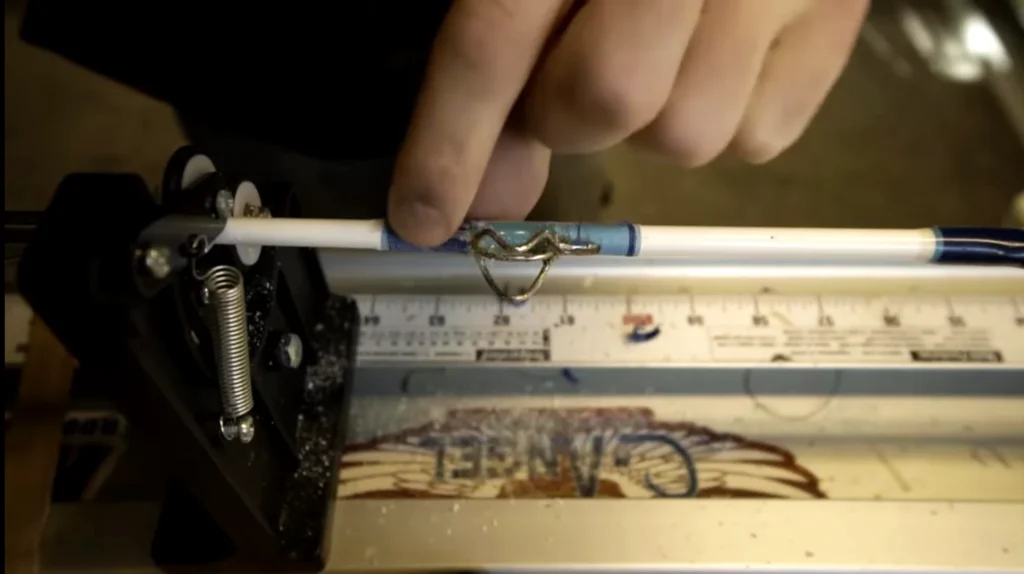
Now that you have the right tools, inspect your broken rod guide very carefully. This is crucial because it will help you to understand how the guide is attached to the rod. This will also help you in determining which part is still very securely attached to the rod blank.
Step#3 Positioning:
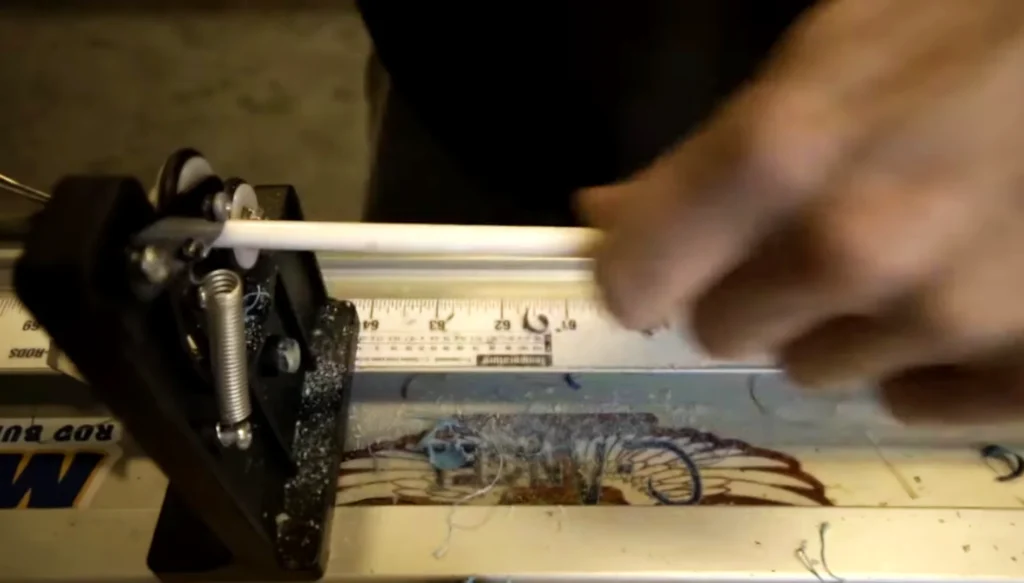
This step is about securing your fishing rod so that it doesn’t move during your work. You can secure your fishing rod in a rod holder. If you have a V block setup or any setup similar to it, that will be good as well. The point of this is to make sure that your rod is stable during the process as shown in the picture.
Step#4 Applying heat to it:
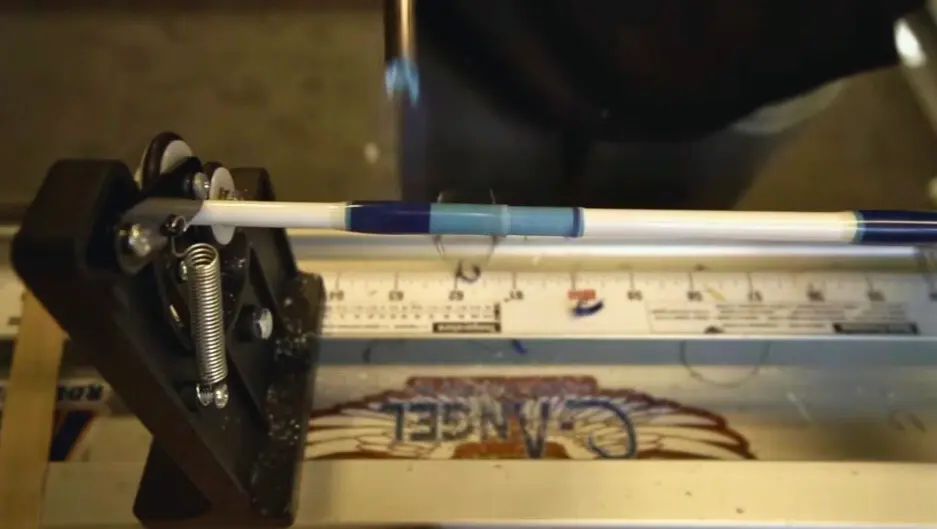
If you have noticed that the guide is stubbornly attached to the rod blank then you should opt for heat, otherwise skip this. You may use a hairdryer at a good temperature so that the heat can soften any adhesive or epoxy that is stubborn. This will make it easier for you to remove the guide.
Step#5 Gripping the guide foot:
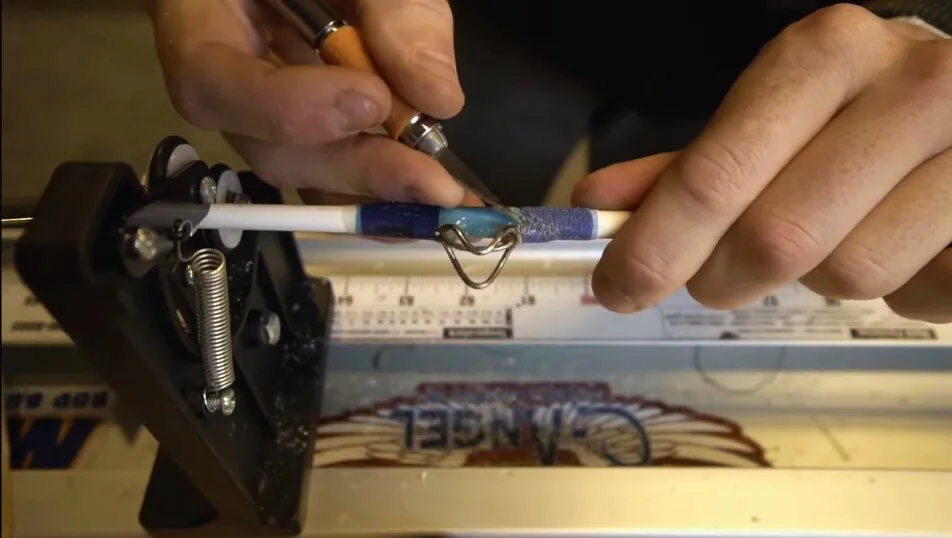
You can use a guide removal tool or any small pliers that you have for this. You have to grip the exposed part of your guide foot. If the guide foot is not exposed enough, you should grip the remaining part of the guide as close to the fishing rod as possible.
Step#6 Applying pressure:
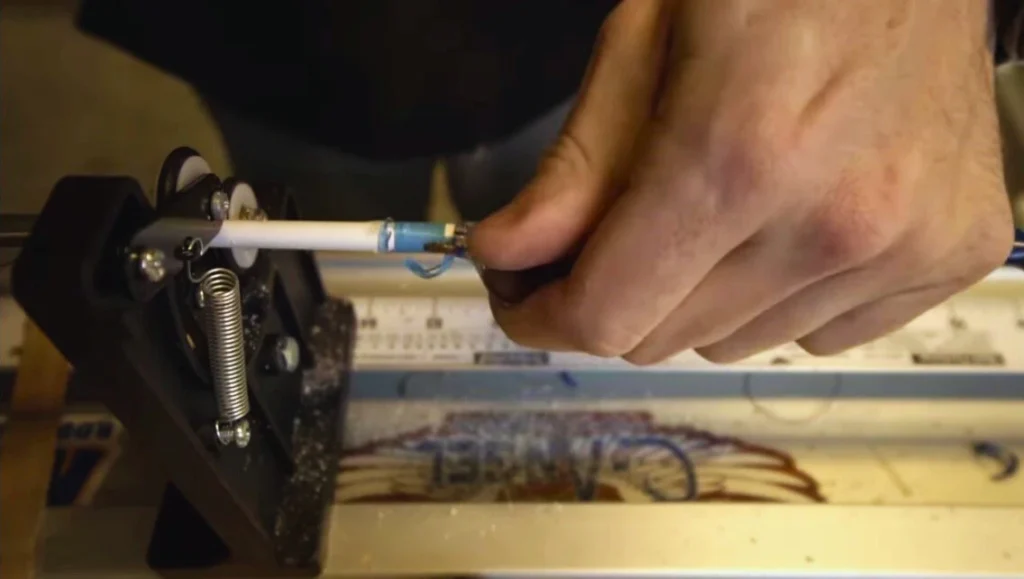
You have to apply some gradual pressure to the guide foot while rocking it back and forth. The reason to do all of this is to loosen the adhesive or epoxy that is holding the guide in place.
Note: Make sure that you are not applying too much unnecessary pressure. Your hands should be gentle with the guide, otherwise, you may end up damaging your fishing rod.
Step#7 Rotate and Rock:
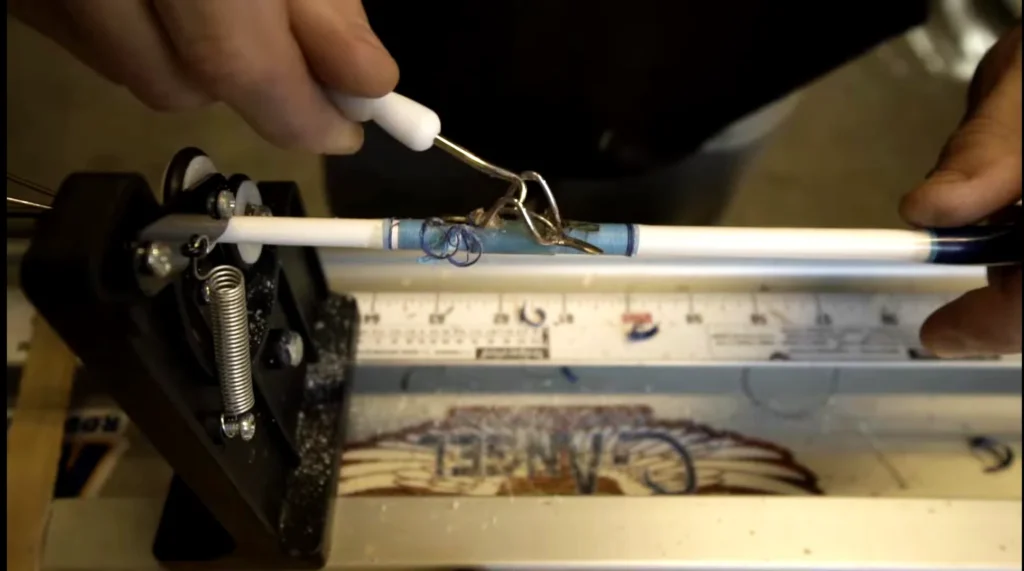
Keep rotating the guide foot so that you can break the stubborn bond between the guide and the rod blank. Be patient during this process and I will again advise you to avoid using any excessive force so that you can prevent your rod blank from damage.
Step#8 Notice the process:
As you are applying pressure, keep checking to see if the guide has started to loosen up. If you notice some movement, that will tell you that you are making some progress.
Step#9 Use alcohol or acetone if needed:
In case you are still not able to budge the guide, you can apply some amount of alcohol or acetone to the guide foot. This will help you in dissolving some adhesives and will make the removal easier for you.
Step#10 Clean the areas:
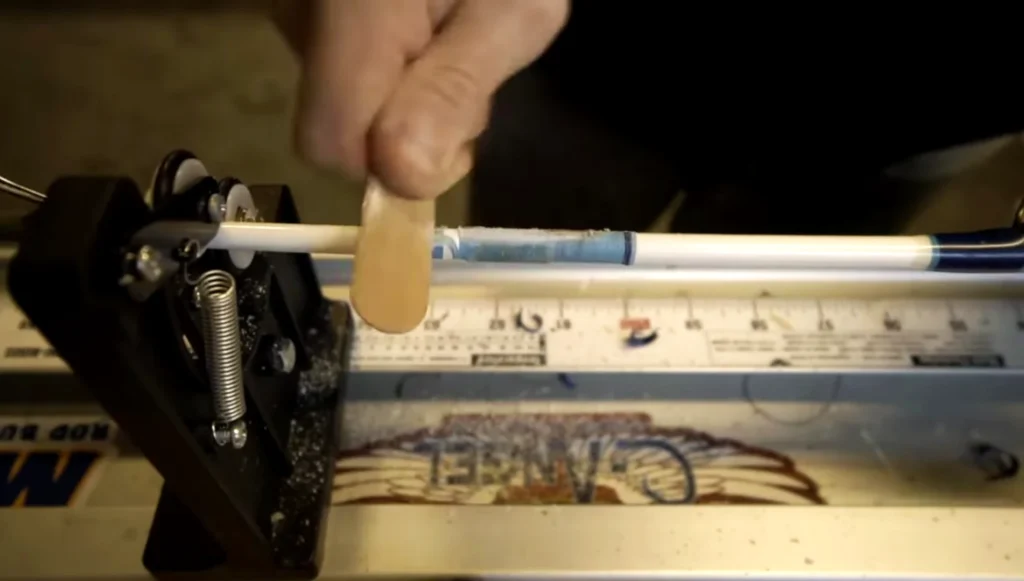
Now that you are successful in removing your guide, don’t just run away! Instead, clean the area on the rod blank using again alcohol and acetone so that there is no residue left behind because of the adhesive.
Step#11 Check for damage:
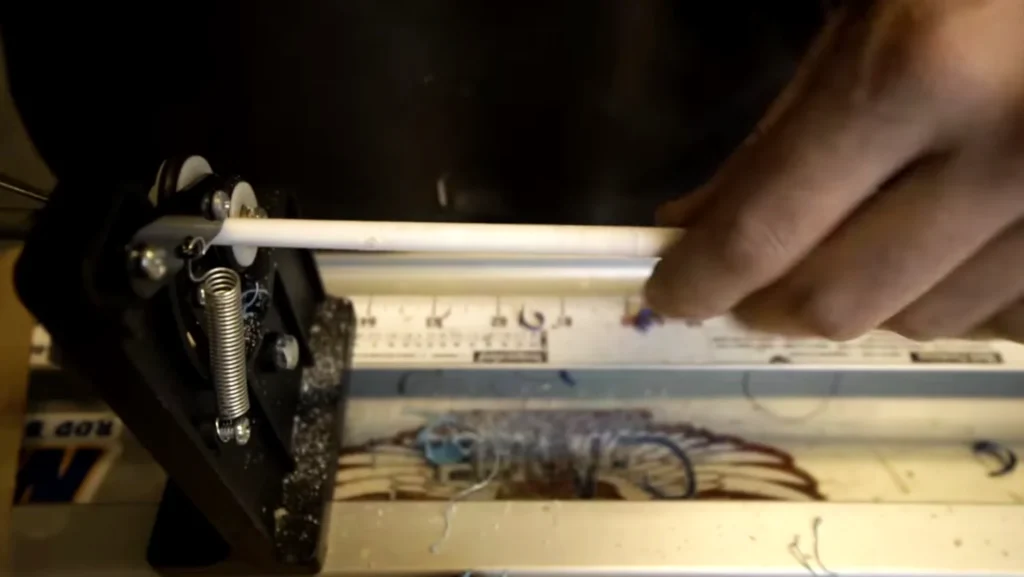
Make sure that you haven’t damaged your fishing rod during the process. For this, check for any scratches or rough spots. If there are any, you can gently sand or smooth them.
Steps for attaching a new guide:
You just removed the damaged guide successfully from the rod so applause for you!
Now, let us move toward the guide replacement.
Step#1 Selecting your guide:
You have to make sure that the guide you are going to use for a replacement matches the size, functionality, and material of the original guide. Ensure that this new guide properly suits your fishing needs and your rod type.
Step#2 Clean the guide area:
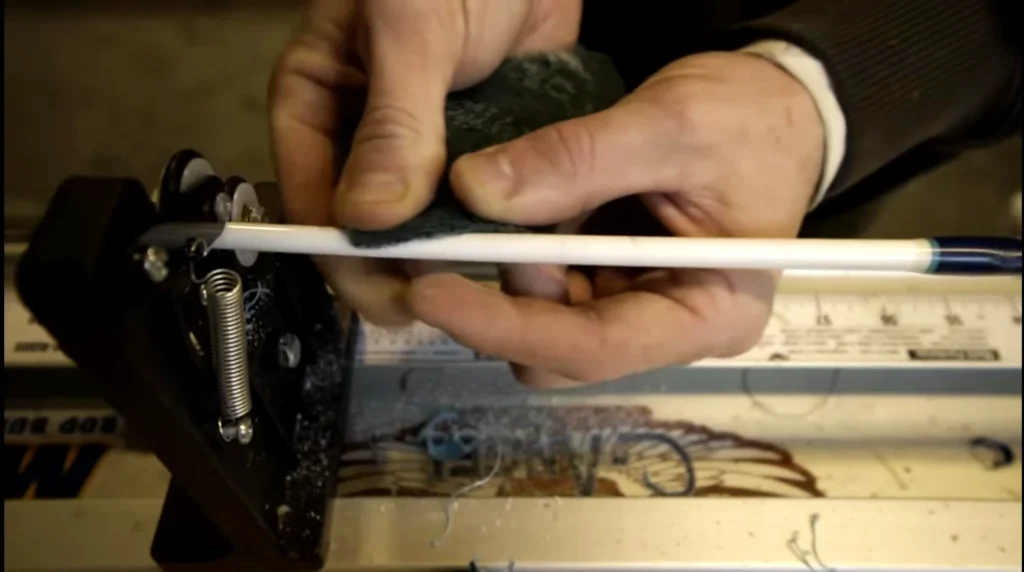
If you haven’t cleaned the guide area before, do it now. Make sure there is no residue left and there are no rough or sharp edges that might hinder proper adhesion during the process.
Step#3 Prepare your guide:
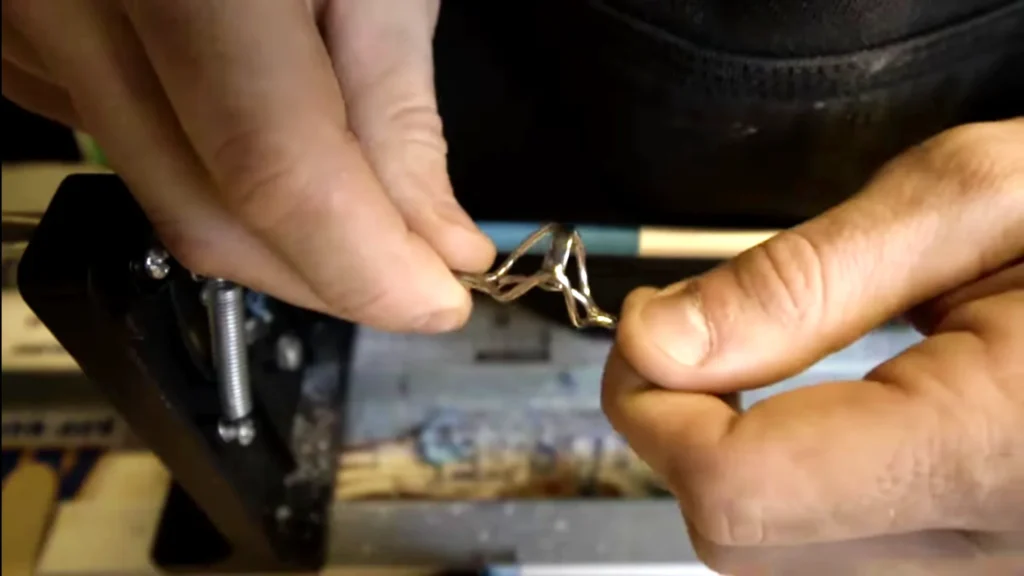
Check the new guide thoroughly if it has any sharp edges or rough spots. Sand or smooth these areas if necessary, so that your fishing line doesn’t get damaged later.
Step#4 Apply adhesive:
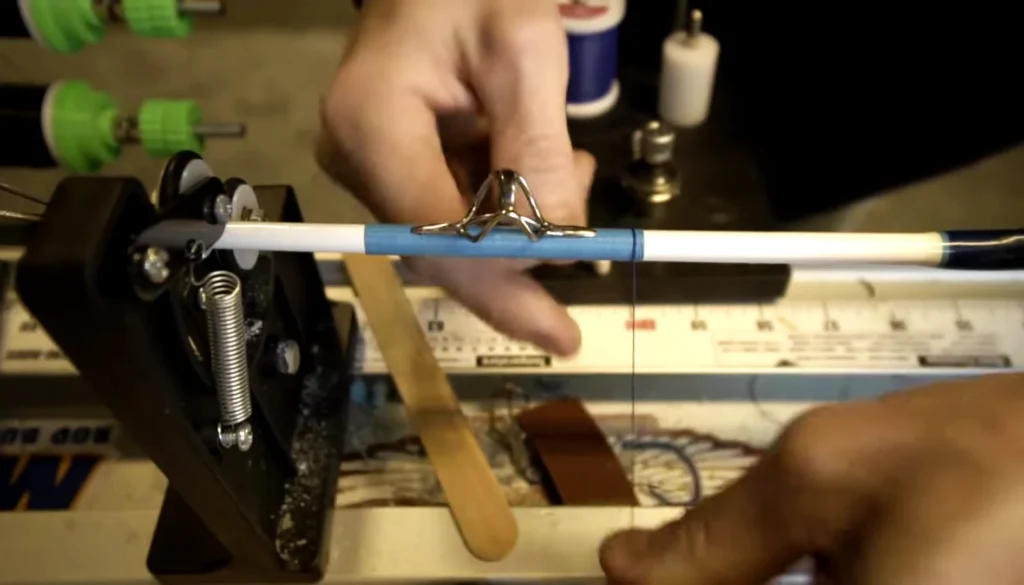
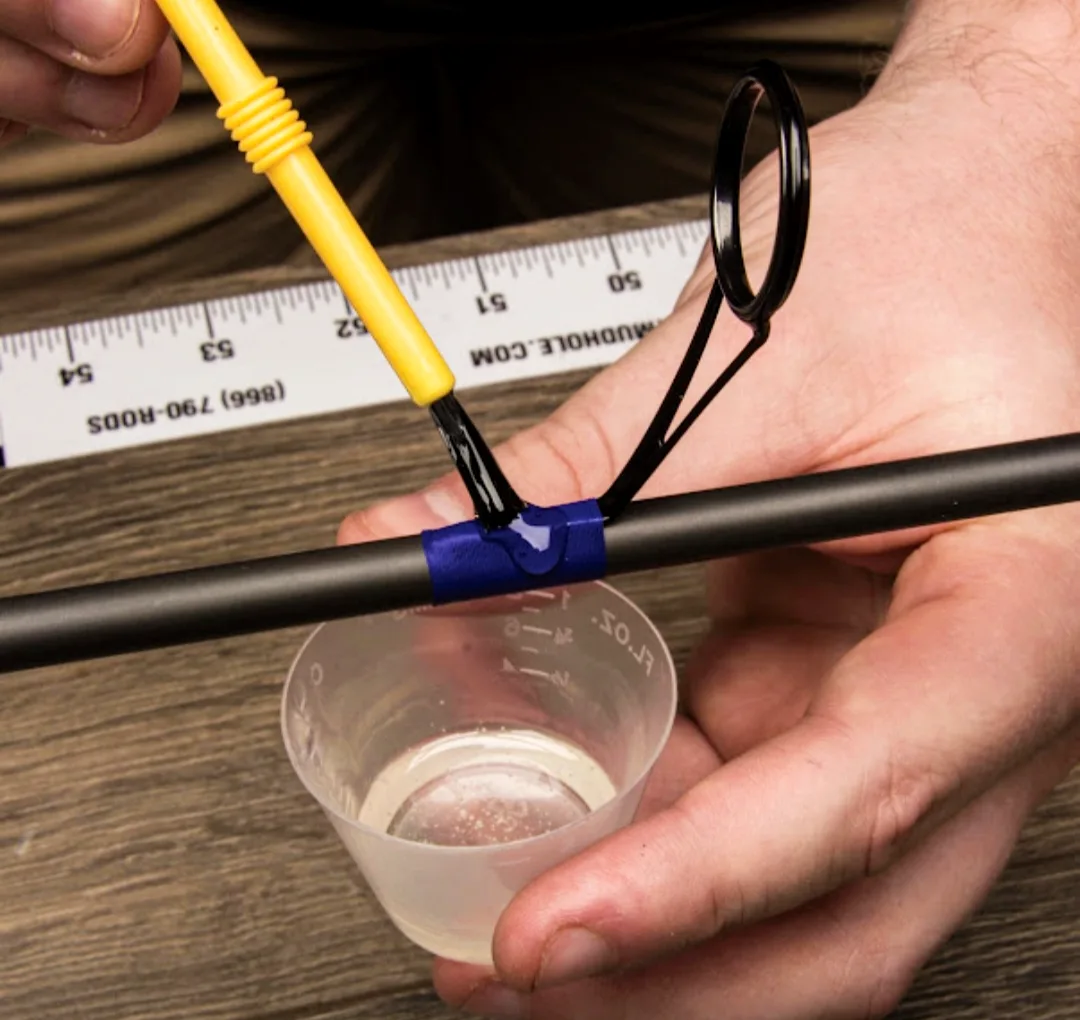
Apply a layer of epoxy adhesive to the guide foot. You have to make sure that the entire guide foot is evenly coated.
Note: Make sure that the letter you are applying is thin and is not dripping.
Step#5 Position the guide:
Now you have to place the new guide very carefully onto the guide area that you have cleaned. Make sure that alignment is proper with the other guides and the layout pattern of the guide.
Step#6 Press and hold for a while:
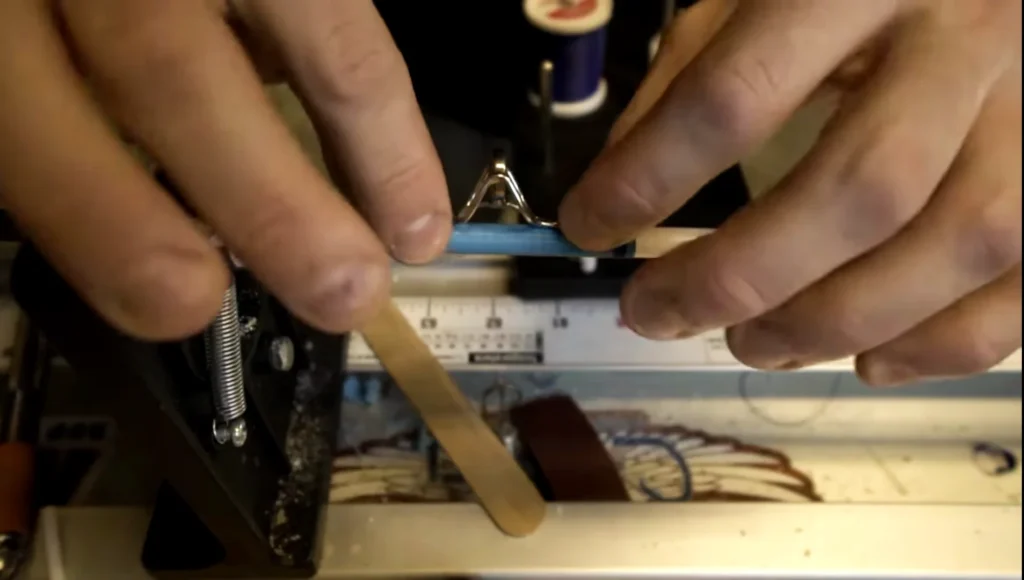
You have properly positioned the guide onto the rod blank. Now, gently press the guide and hold it there for a few seconds. This will allow the adhesive to create initial contact.
Step#7 Securing the guide:
In this step, you have to secure your guide with the rod blank so that it stays. If you are using a guide wrapping thread, then carefully wrap the thread around the foot of your guide and the rod blank to secure it temporarily in place.
Step#8 Curing:
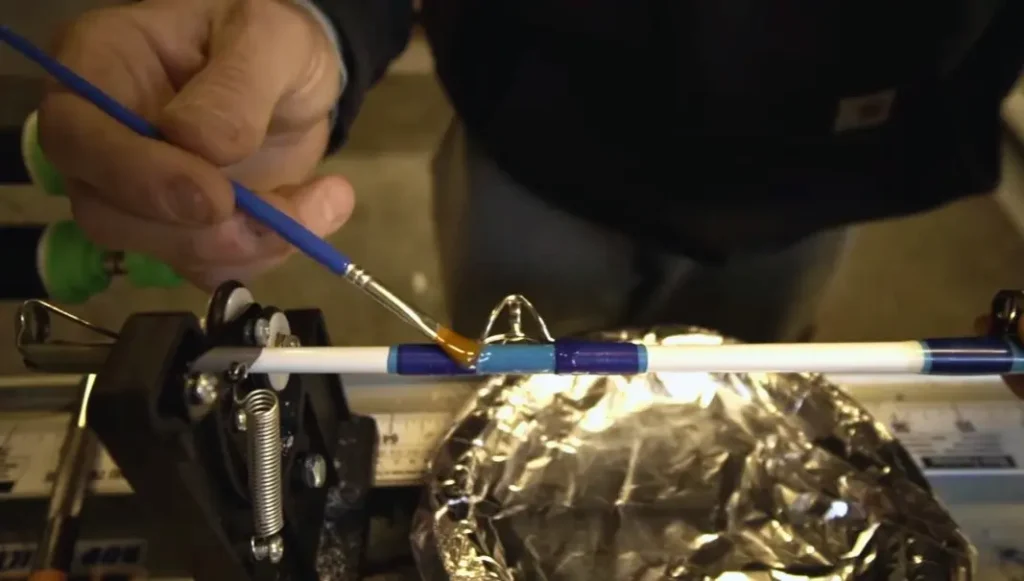
Follow the instructions given on the packaging of your epoxy adhesive and let it cure. The time usually falls somewhere between several hours and leaving it overnight. However, it is better if you leave it overnight.
Step#9 Remove excess epoxy:
Now, check the guide for if there is any excess epoxy adhesive that might have oozed out during the drying process. Use any small brush or applicator to remove any excess parts of it.
Step#10 Inspect and test:
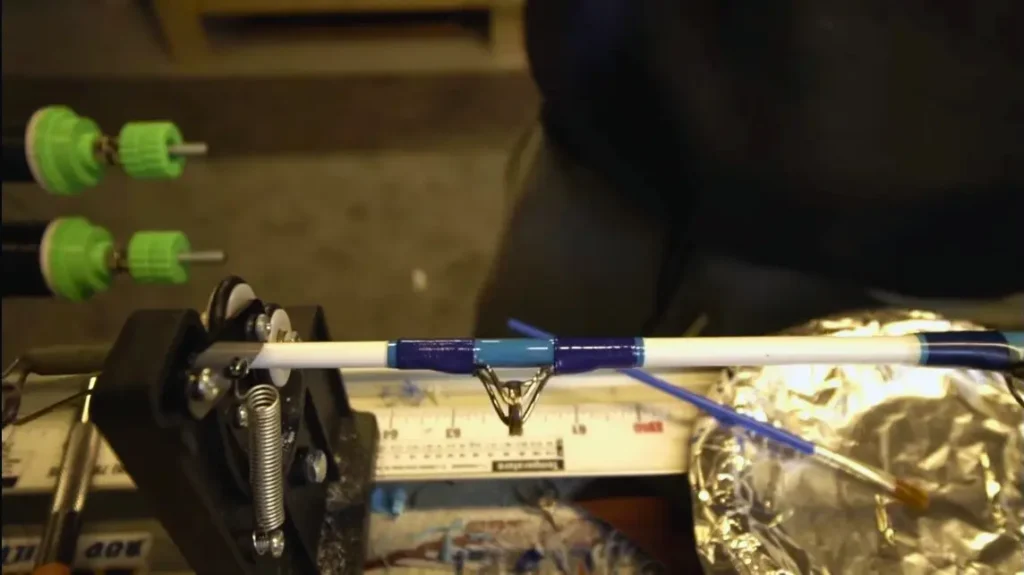
Once the epoxy has completely cured on the guide, inspect the guide to ensure that it is properly attached. For this, you can gently tug the guide for checking any movement or looseness. If there isn’t any, then you have successfully replaced your guide. You can repeat the same process if any more guides need replacement.
How to maintain your fishing rod guides?
To make sure that your fishing rod guides last for long, you have to go for proper maintenance of your fishing gear. I have penned down some great tips below that will help you in taking care of your fishing rod.
Tip#1;Inspect your guides regularly. Inspect them for any signs of wear, damage, or corrosion. If you can catch issues early, this will save you a lot of hassle.
Tip#2;Clean your guides after using them. Remove any dirt, sand, or debris that you find.
Tip#3;Rinse your guides with fresh water if you have used them for saltwater fishing.
Tip#4;Regularly inspect the inserts for any chips or scratches.
Tip#5;Always make sure that the guide rings/eyes are properly aligned.
Tip#6;Lubricate your guide rings, if needed, to reduce friction.
Tip#7;Remove debris on the line or any tangles that can cause trouble. Make sure that the tip is clean.
Tip#8;If your guides are wrapped with a thread then ensure that there are not any signs of fraying or loosening.
Tip#9;Always be careful and do not hit your guides with anything.
Tip#10;Make sure that you always store your fishing rod properly.
Tip#11;If there are any damaged guides, replace them.
Tip#12;Do not apply any kind of harsh chemicals to your fishing guides.
How to choose the right guide for your fishing rod?
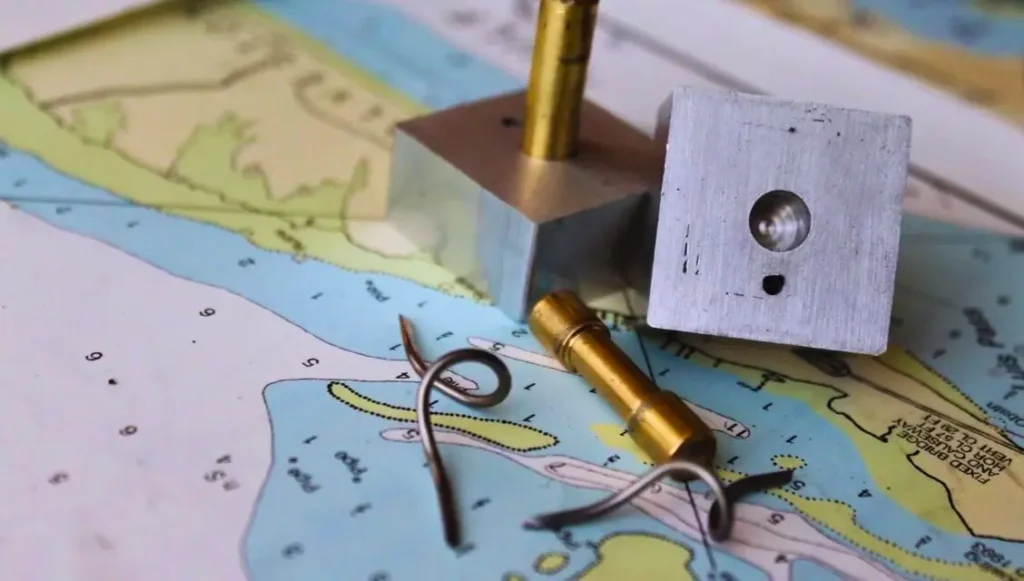
Since there is a vast variety of fishing guides out there, you have to keep in mind three factors for choosing the right fishing guide for your rod. Type, quality, and budget should be your major concern when choosing the perfect guide for your fishing rod.
There is a list below to keep in mind before purchasing the guides for your fishing rod.
#1 Type of rod and usage:
First, identify what type of fishing rod to have. For instance, a spinning rod, casting rod, etc. Know where you are going to use your fishing rod, saltwater or freshwater, etc.
#2 Material:
Keep in mind the kind of material that matches the requirements of your fishing rod. As mentioned above, guides come in different materials with different functions and uses.
#3 Size and style:
Always select the guides with appropriate sizes according to your fishing line diameter. You can also consider the guide layout pattern on the fishing rod.
#4 Fishing line:
Choose guides that are compatible with the type of fishing line that you have. For instance, your fishing line can be monofilament, fluorocarbon, etc.
#5 Rod power:
Rods come with different power and action. So, ensure that the guides are suitable for your rod’s power.
#6 Fishing conditions:
Always consider the environment and the conditions in which you will go fishing. For instance, for saltwater fishing, opt for corrosion-resistant materials. (Titanium and stainless steel).
#7 Budget:
Always keep your budget in mind. I will recommend you create a balance in budget and performance while selecting your desired guides.
#8 Brand and Quality:
You should choose brands that have a good reputation and are known for their quality. For this, you can read reviews of different companies on the internet.
#9 Consult experts:
Always visit local fishing tackle shops or consult experienced anglers while choosing the guides for your fishing rod.
#10 Learn with experiments:
It will take some experimentation and patience to find the guide for your fishing rod. So, be patient and do not hesitate to try different options.
Are there any guideless fishing rods?
Alternative to a fishing rod with guides, there is a design that does not involve using fishing rod guides. The design eliminates the need for fishing rod guides for traditional fishing. There are some rods enlisted below:
Air guide system:
This guideless design uses a grooved rod blank. The fishing line is guided through these grooves and the guides are not required. This design is intended to decrease line friction and improve casting distance and accuracy.
Tenkara rods:
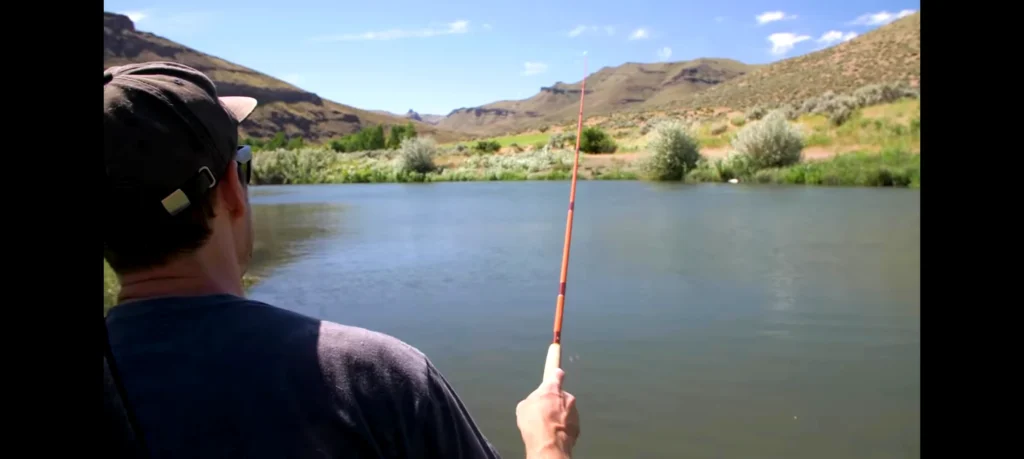
They are traditional Japanese rods that use fly fishing methods. They are telescopic rods with a fixed length of fishing line and no reel. The fishing line is directly attached to the tip. These rods are better for small stream fishing.
Whip fishing:
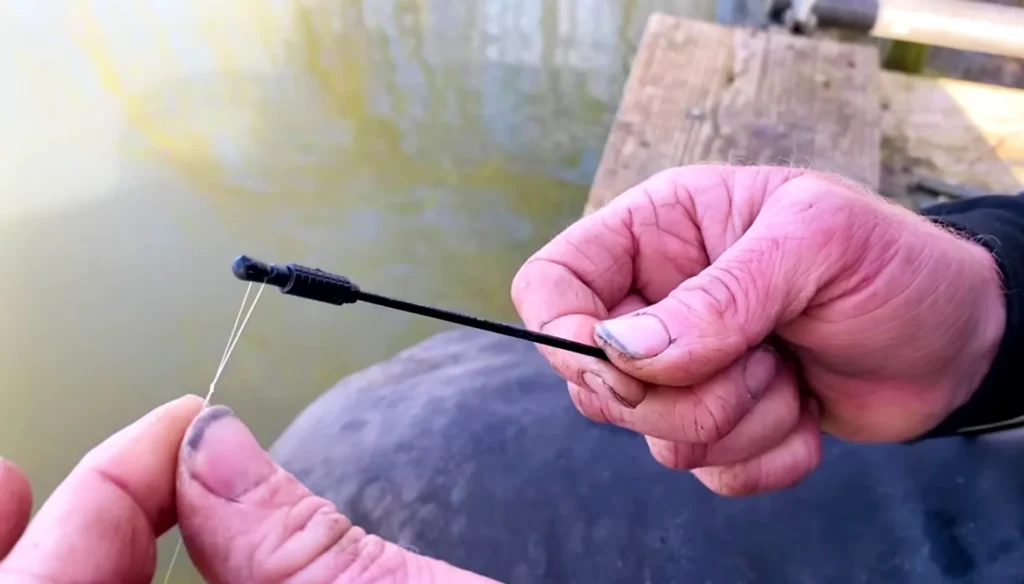
This involves techniques using an ultra-light and flexible rod that has a short length of line. Even the bait is small. The absence of guides in this rod just simplifies it and allows quick and easy casting.
Ice fishing rods:
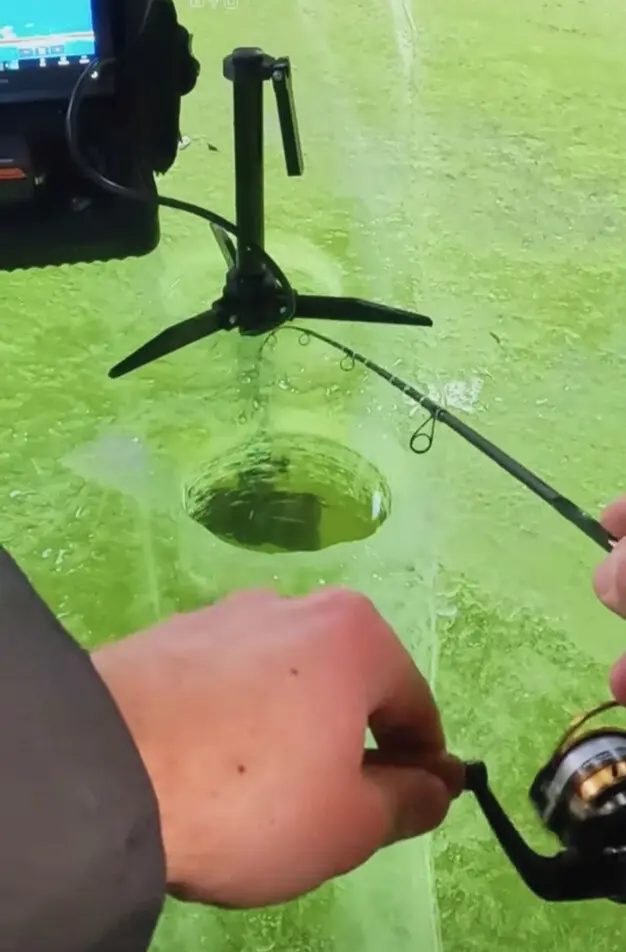
Some ice fishing rods are short and do not need traditional fishing guides. The guides are often skipped so that the rod stays compact and portable.
Noodle rods:
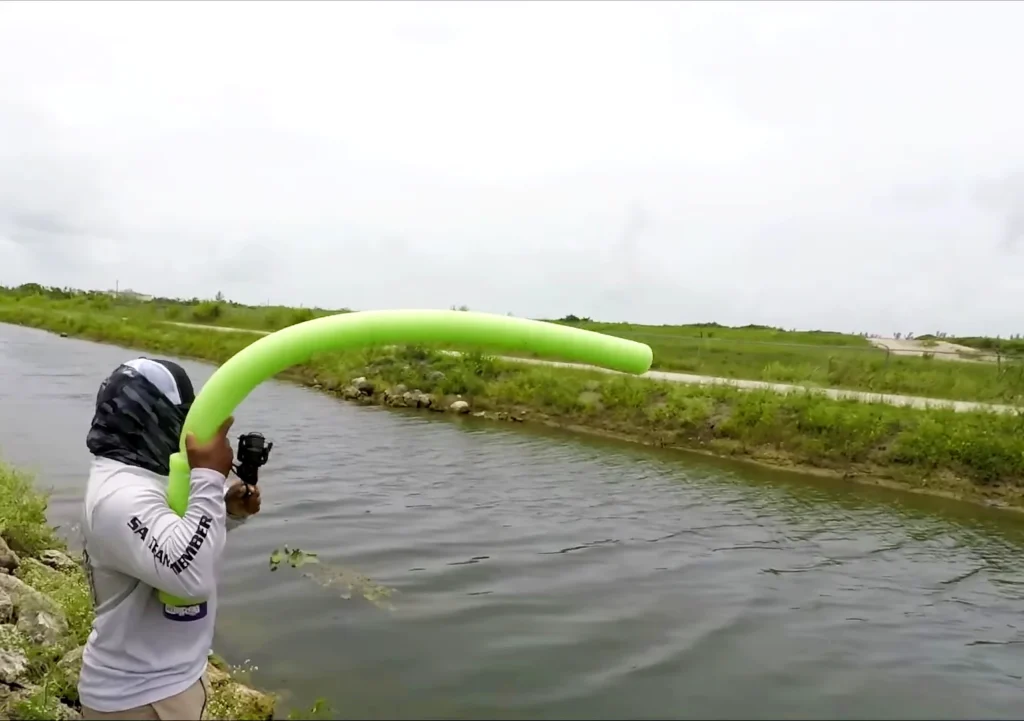
These rods have very flexible blanks. They are designed for precise control and fine fishing. Some of these rods do not have guides so they are more flexible and sensitive.
You should keep this thing in mind that guideless designs are relatively new and may not be that effective compared to designs with fishing guides. This is because guides are quite old and they have been refined over time and are well established for their ability to assist in fishing. Compared to rods with guides, guideless designs might seem cool but they also have their limitations.
Final words:
Summarizing it all, I will again emphasize that for good fishing performance, it is always better to have properly functioning guides. Replacing a guide might be time-consuming but it is quite easy. You can easily replace broken parts of your fishing rod, whether it is a guide or a broken fishing rod tip. You just have to be patient with it:)

3 thoughts on “How to Replace Fishing Rod Guides: types, tips, techniques”