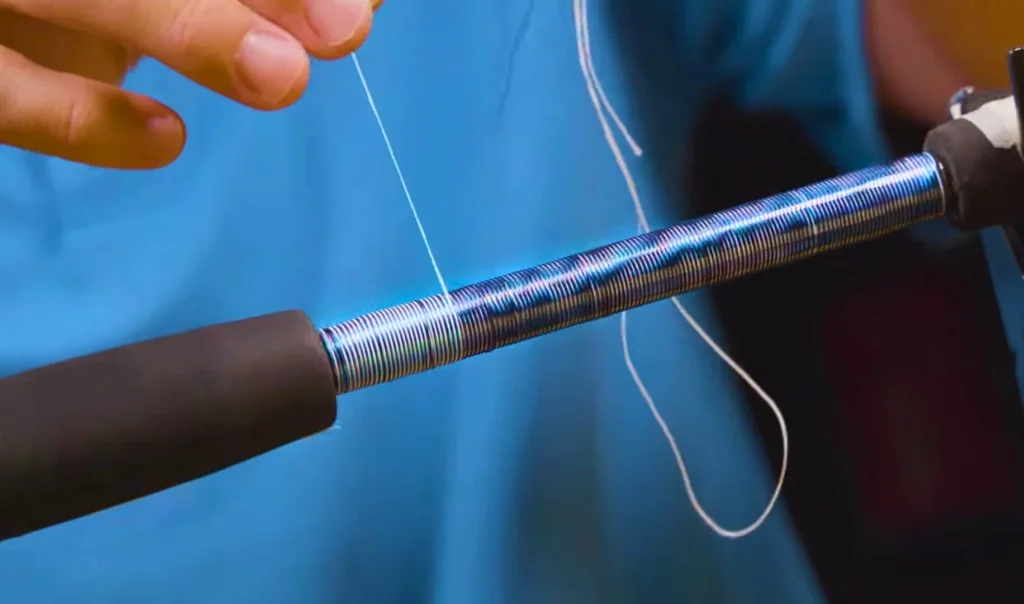
Hey, anglers! Are you curious about fishing rod wrapping designs? Or are you worried about wrapping your fishing rod as a beginner? Well, this article will help you learn to wrap your fishing rod. So, your wait is over!
When you were surfing through the internet, you would have come across countless wrapping designs and techniques. Meanwhile indulging yourself in all this mess, a question might have intrigued your thoughts (especially if you are a beginner), why do you have to go through all of this?
It’s a good question and luckily, I have the correct answer for you.
Why do we have to wrap a fishing rod?
Wrapping a fishing rod might seem like a measure for improving the aesthetics of your fishing rod. However, it also plays a role in securing the guides. It improves the durability of your fishing rod, helps in line management, enhances the grip of the rod, and prevents it from corrosion. The list below will help you understand the uses of wrapping a fishing rod.
Guide protection:
Wrapping helps in securing the guides and it makes sure that they don’t get loose.
Line management:
Wrapping makes sure that the fishing line is in proper alignment which reduces friction resulting in more accurate casts.
Durability:
Wrapping a fishing rod makes it more durable.
Damps Vibrations:
Vibrations that occur during casting can dampen with the help of wrapping.
Aesthetics:
Wrapping improves the overall outlook of your fishing rod.
Identification:
By wrapping different parts of your fishing rod in different colors, you can easily identify the type of your rod.
Prevents corrosion:
As wrapping creates a layer over your fishing rod, it stops the water from reaching the actual surface which prevents corrosion.
Improves Grip:
Wrapping your fishing rod can enhance your grip leaving you with a better grip on your rod.
Least but not last, just like fishing is not just about catching fish. It is something more that defines your passion. Similarly, wrapping your fishing rod is totally up to you. If you think it is cool, that is enough explanation to go for it. 🙂
Which parts of the fishing rod need wrapping?
Wrapping a fishing rod is not just about aesthetics, it also helps in durability and performance. You have to wrap some parts such as guides, guide wraps, joints, butt section, tip, etc. Wrapping these areas will help you in securing your fishing rod.
What are the different techniques to wrap a fishing rod?
Now that you know the uses of wrapping your fishing rod, let us move towards the different techniques and designs that you can choose to wrap your fishing rod.
During childhood, I remember once seeing a fishing rod that had a strange pattern with fish on it. I so wanted the same pattern over my fishing rod but back then, there was not much information available. Thanks to human advancement today. We can easily find things that we are looking for. So, I have gathered a list of techniques that are widely loved among anglers around the globe.
#1 Over-and-under wrap:
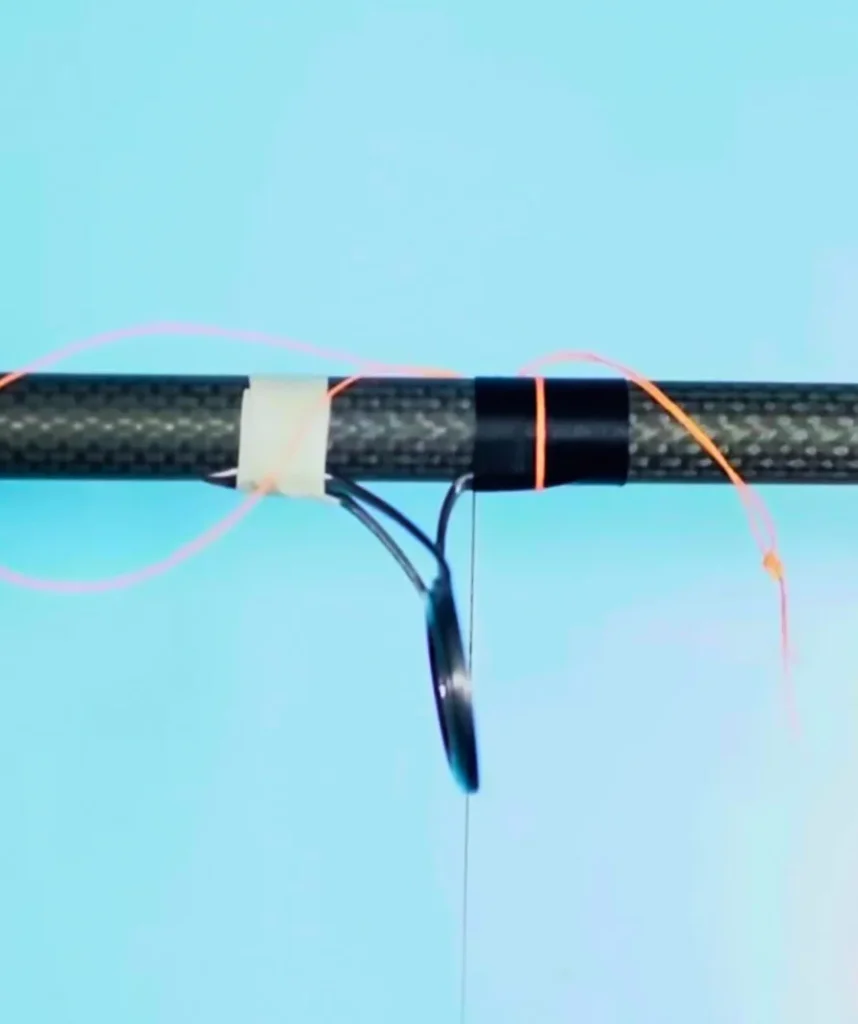
It is a common technique that consists of making wraps over the guide foot and then under it in a crisscross pattern. First, start wrapping your thread over the guide foot. Then, wrap the thread under the foot and keep it alternating between the over and under pattern as you move toward the guide foot. This technique is ideal for ensuring that the guide is securely attached.
#2 Spiral wrap:
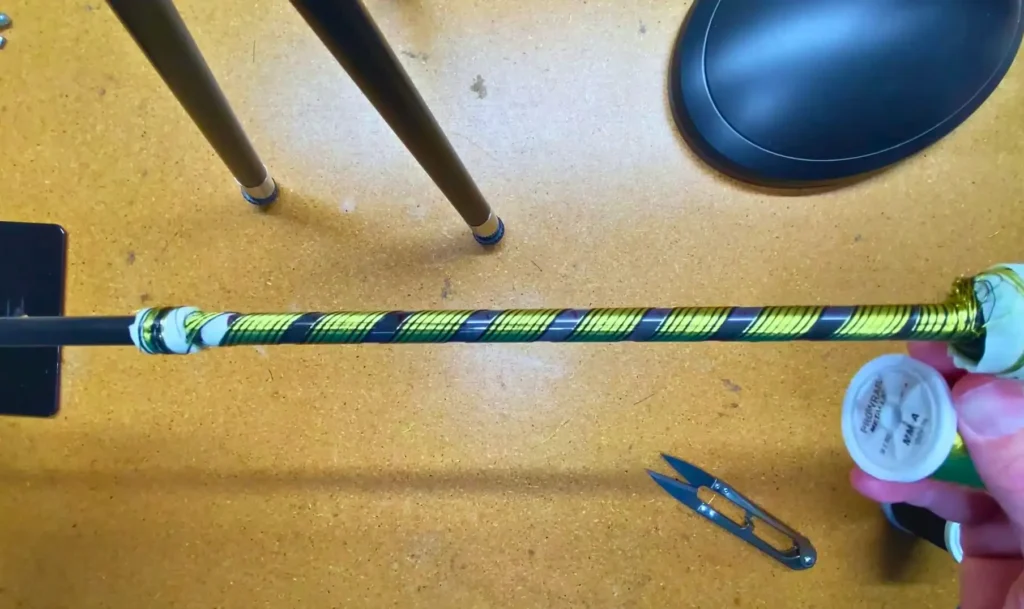
This wrap is ideal for a decorative pattern. First, you have to attach the thread at your desired point and then start wrapping it in a diagonal spiral pattern along the length of the blank. You have to make sure that there is consistent spacing between each wrap for an eye-catching design.
#3 Diamond wrap:
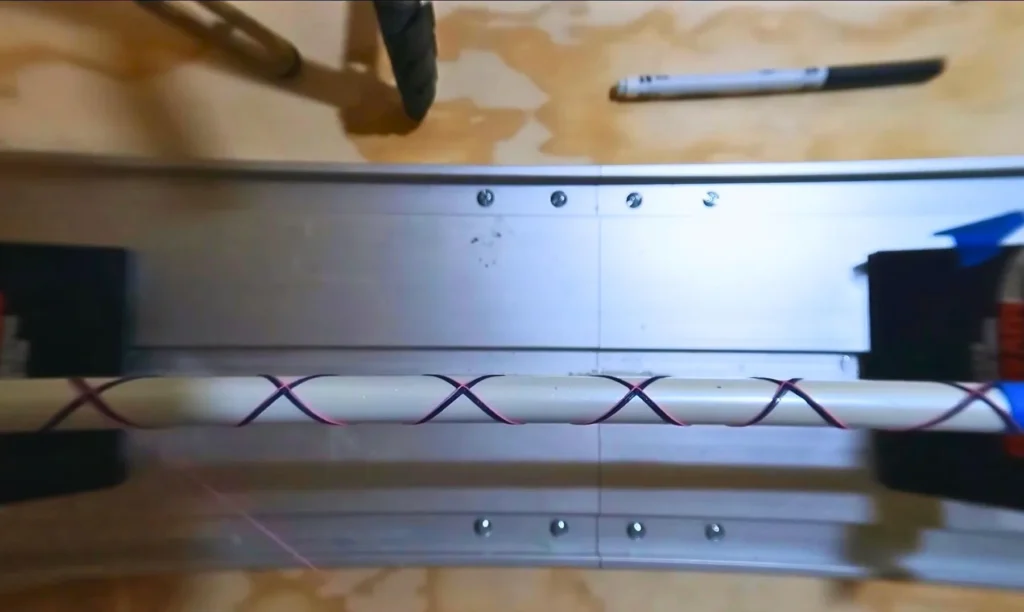
This wrap will give you a diamond shape pattern along the rod blank. The first wrap will require attaching the thread at a slight angle and then you will have to crossover the first wrap with another wrap that will form an X. By repeating the same pattern, you will get the diamond shapes.
#4 Fish scale wrap:
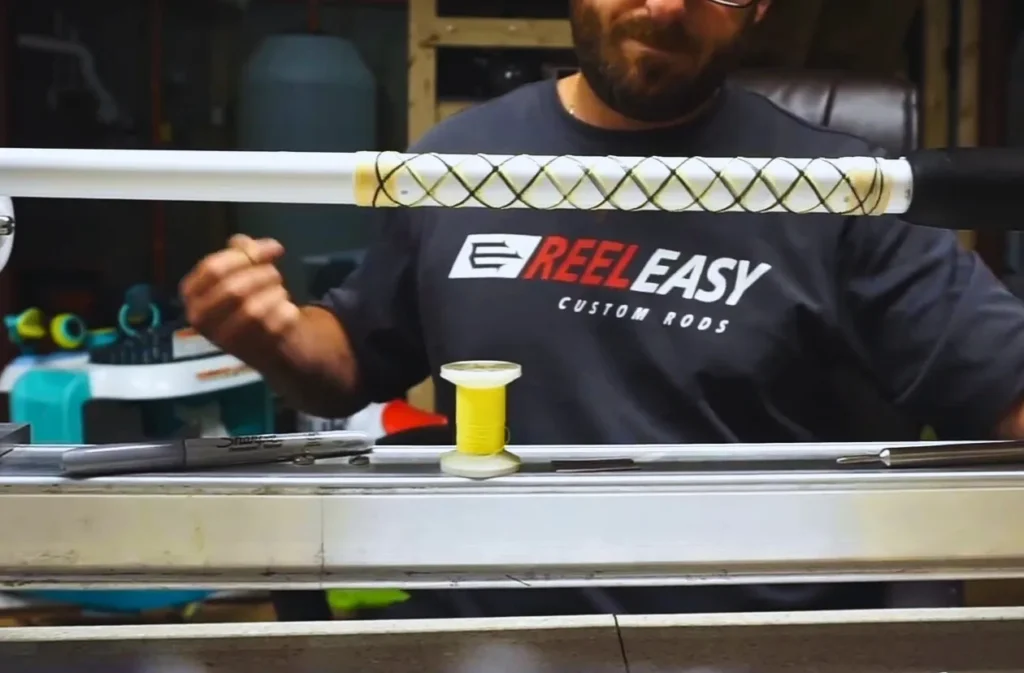
It is a perfect method if you are into aesthetics, as it resembles the fish scales. In the beginning, make one wrap by attaching the thread first. The next wrap is the crucial point. You have to move slightly upward and, to the side to create an overlapping effect. Continuing this pattern will mimic the fish scales on your fishing rod.
#5 Thread weaving:
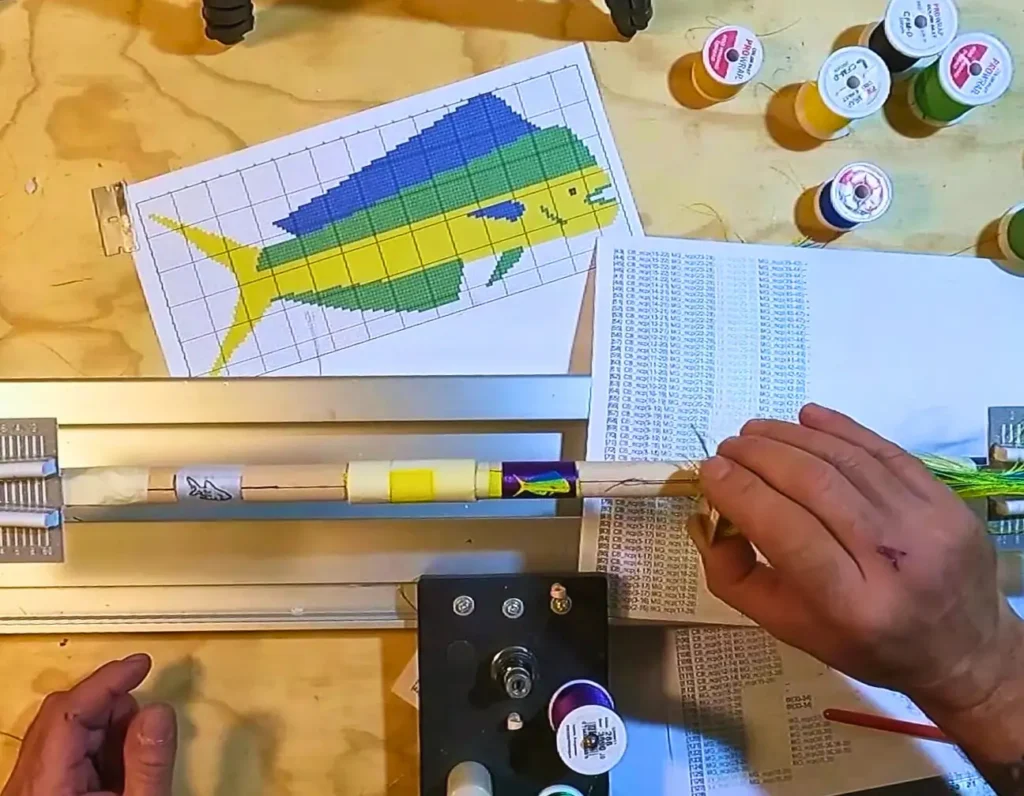
This technique involves weaving the thread over and under itself. First, attach the thread and then weave it, either in a zig-zag or in a crisscross pattern. This will require precision, so make sure that you are focused.
#6 Color wraps:
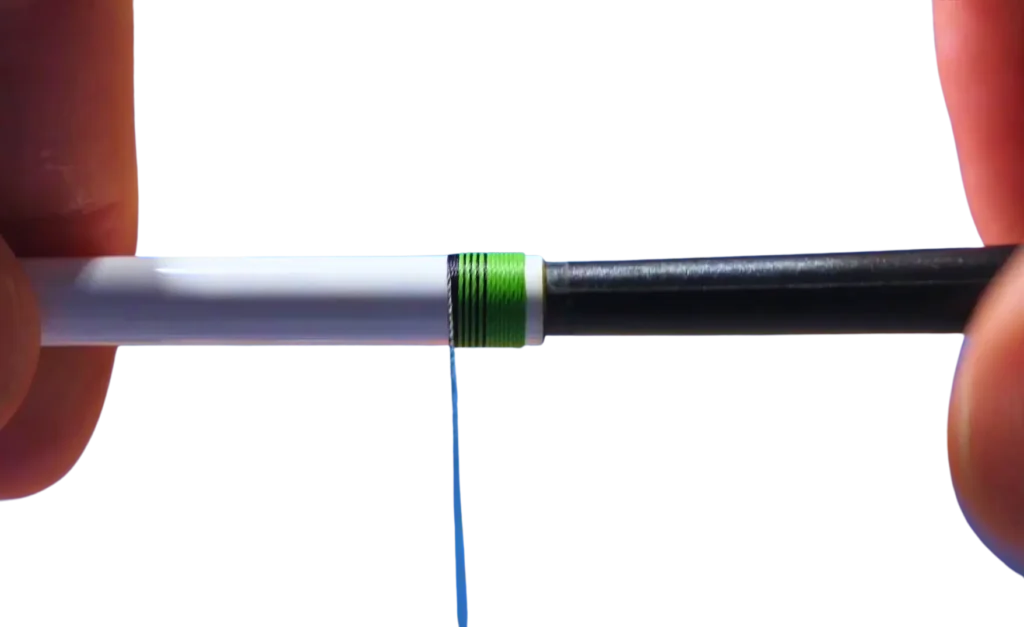
This technique involves the use of different colors of threads. Contrast the colors of your choice and use them to create patterns along the rod blank.
#7 Butt wrap:
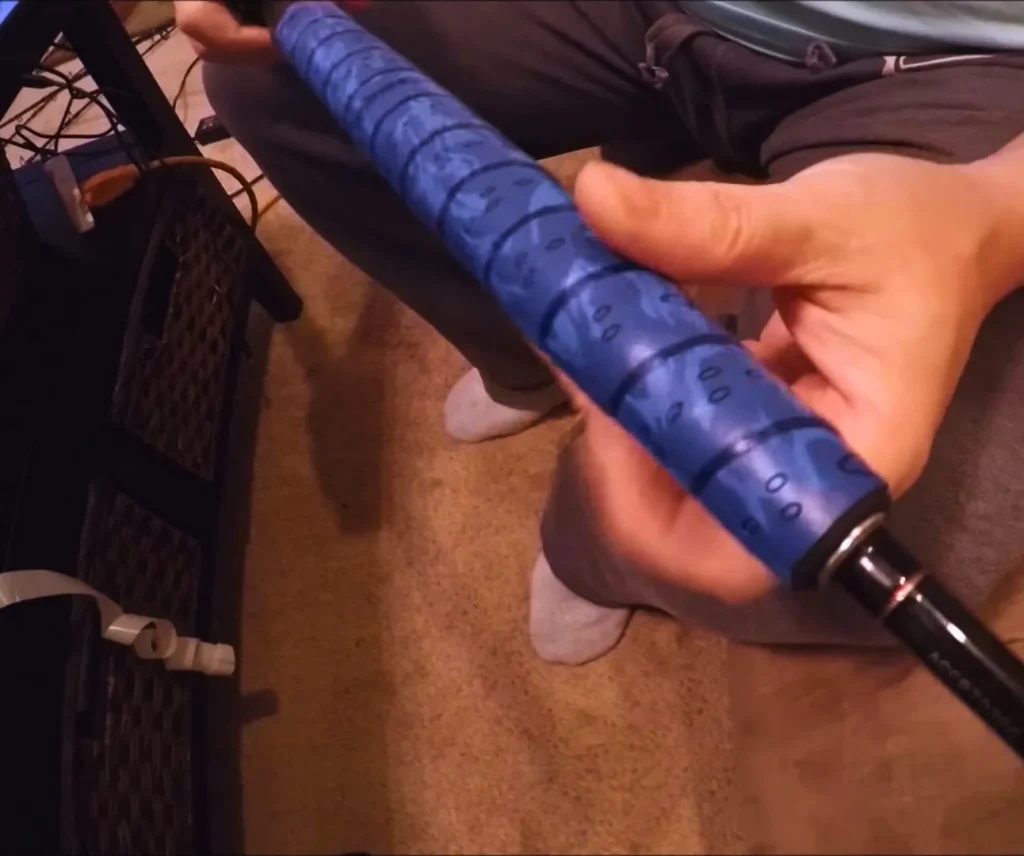
As the name suggests, this technique is applied to the butt section or handle of your fishing rod. First, attach the thread and then make wraps in your desired pattern along the handle.
#8 Tipping wrap:
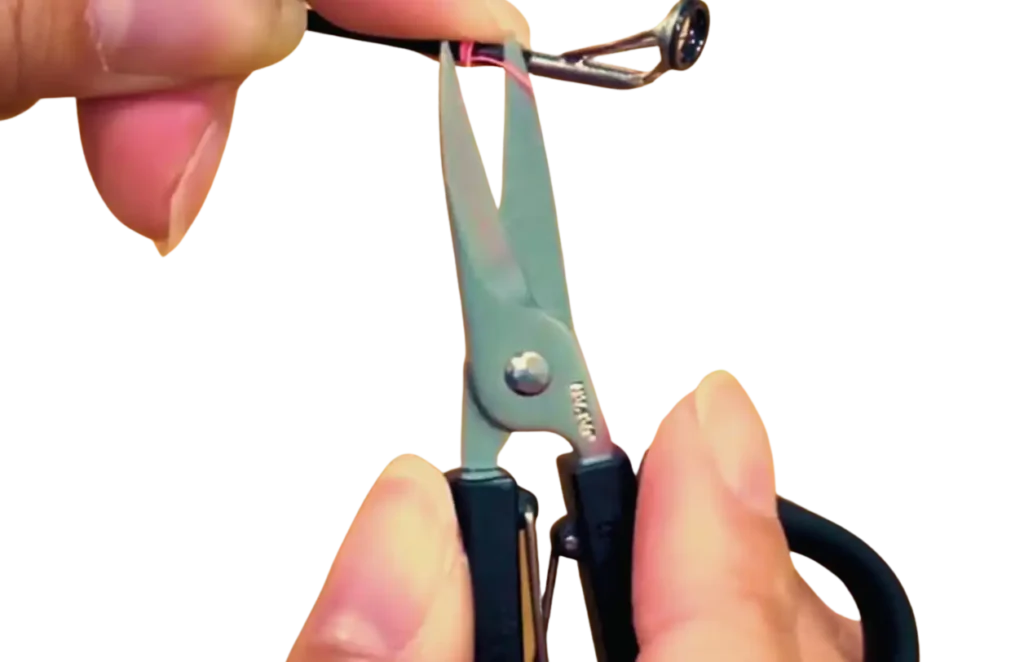
This technique involves the placing of short wraps at the ends of the guide wraps. This step not only just adds an appealing look but also helps in securing the ends of wraps.
#9 Cross wrap:
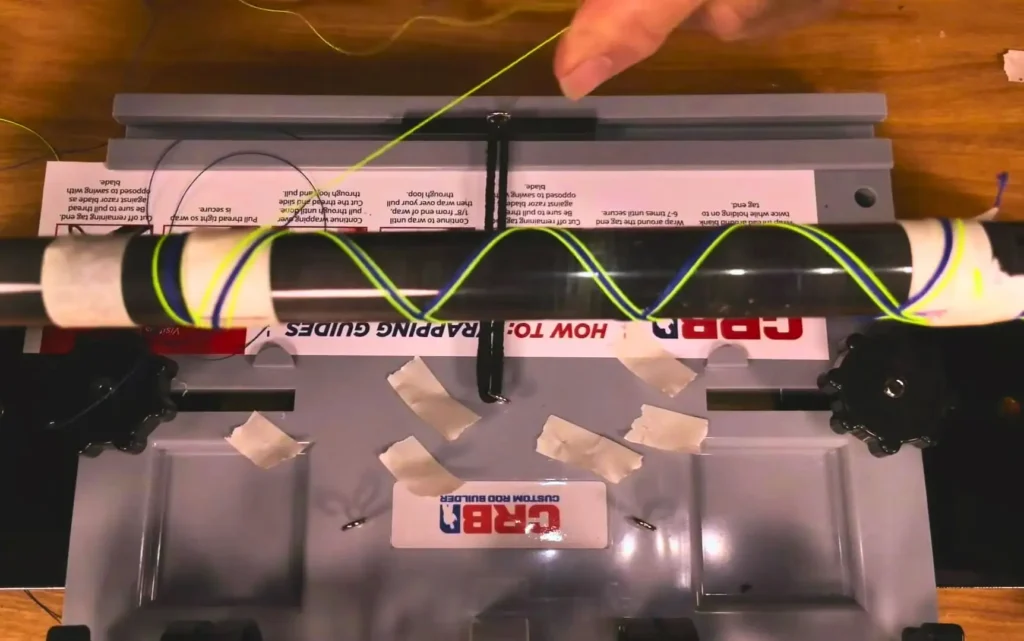
This technique is pretty simple. You just have to create crosses with the use of thread wraps. The crosses can serve the purpose of aesthetics along with securing the fishing rod.
#10 Inlays and Decals:
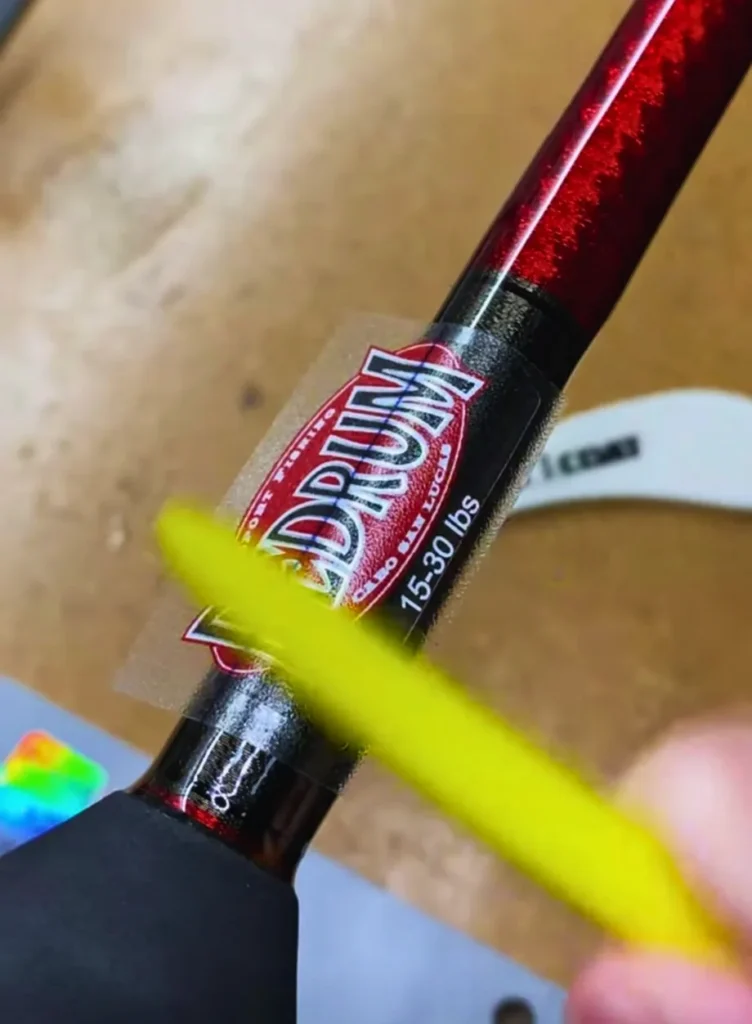
These are additional elements that people often add to their fishing rods for a different look. Inlays refer to small pieces of material that are embedded into the thread wraps whereas, decals are adhesive designs that you can apply to the rod blank.
#11 Chevron wrap:
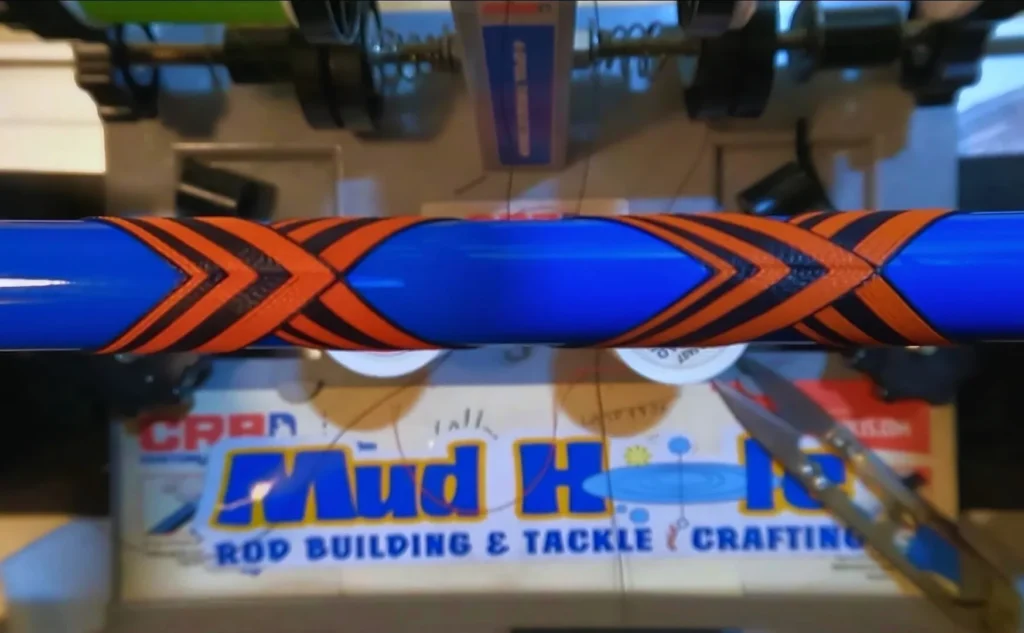
This technique creates a V-shaped pattern around the guide foot of the rod. You have to diagonally wrap the thread and repeat this pattern up and down to achieve this look.
#12 Decorative inlays:
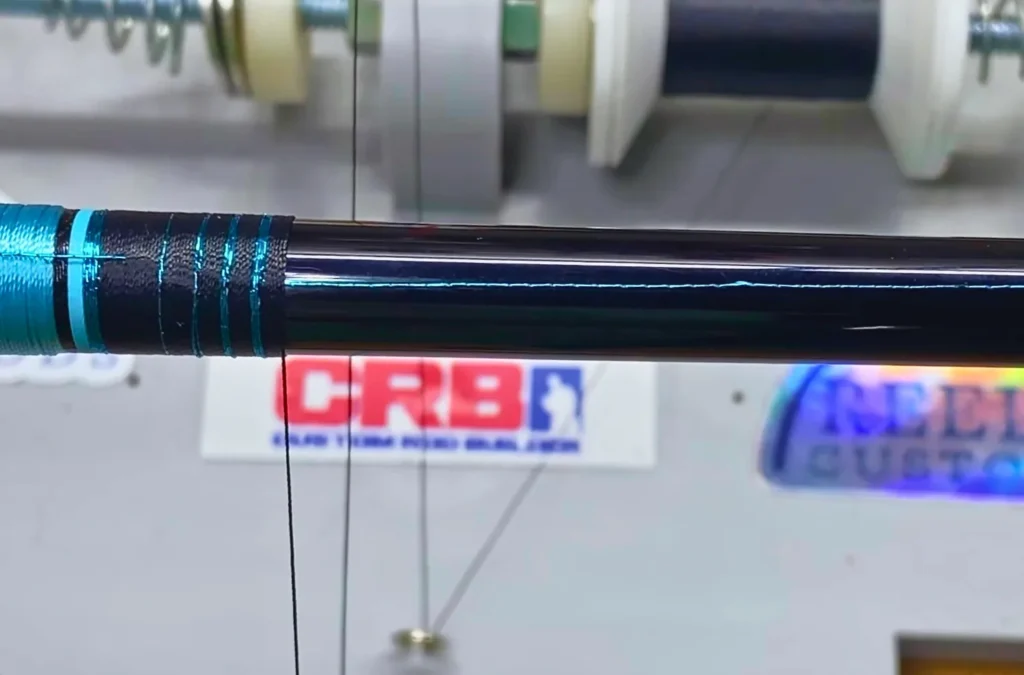
Advanced rod builders often add decorative inlays. These include colored threads, metallic threads, and sometimes even small beads.
#13 Custom wrap designs:
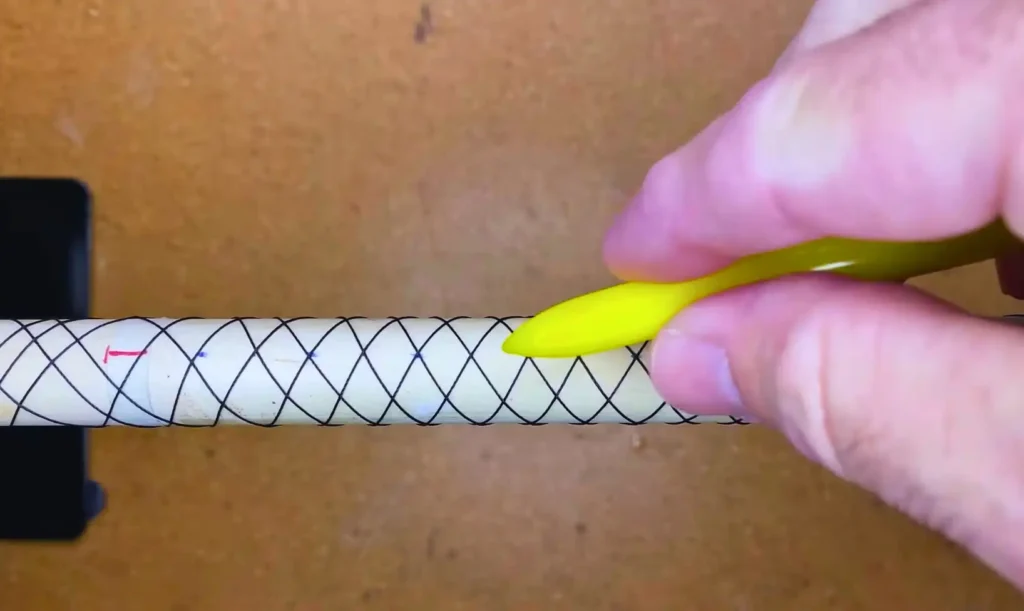
If you are good at creating a pattern, you can create a pattern of choice for yourself. Otherwise, you can get an advanced rod builder to create custom designs by combining different techniques and thread colors for a personalized look.
How to wrap a fishing rod?
Now that you are familiar with some common techniques for wrapping a fishing rod, let us move toward the application of those different techniques.
Wrapping a fishing rod requires the fulfillment of some basic steps. You can get your rod wrapped or you wrap it yourself, the choice is yours. However, wrapping can be a fun activity that you can enjoy as an angler. This is the reason that most of the anglers wrap their fishing rods themselves.
Supplies needed for wrapping a fishing rod:
The table below shows the materials needed for wrapping a fishing rod. However, the supplies can vary according to your needs.
Rod Preparation: Fishing rod blank. Sandpaper or abrasive pad. Rod cleaner or alcohol. | Thread Wrapping: Rod wrapping thread. (Nylon, silk, or other preferred material) Thread tension device. (Spring or tensioner) Bobbin holder or thread dispenser. Thread tensioning tool. (Optional) Scissors or thread cutters. Burnishing tool. (Optional) |
Adhesive and Finishing: Adhesive and Finishing: Rod finish epoxy. Mixing cups and stirring sticks. Small brush for applying the epoxy. Alcohol or acetone for cleaning brushes. Rod drying motor. (Optional) | Rod Support and Tools: Rod Support and Tools: Rod wrapper machine or DIY jig. V-blocks or rod holders. Clamps or rubber bands. Rod stand or holder for drying. Rubber gloves. (For epoxy application) Work surface. (Table or workbench) Padded surface (towel or foam) to protect the rod. |
What is the ideal fishing rod wrapping setup?
Before wrapping your fishing rod, you need to have a proper and secure setup to ensure accurate and even thread wraps on your rod. For that, I have enlisted three solutions for you. The choice is yours to make.
Rod wrapper machine:
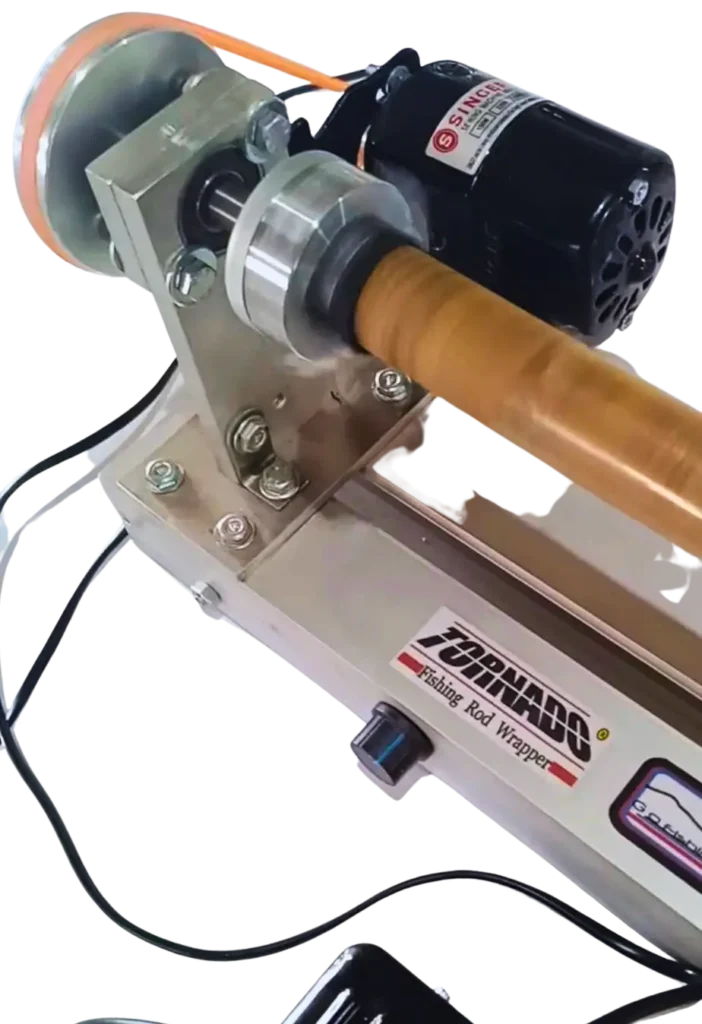
This machine is a specialized tool that is designed for wrapping fishing rods. It holds the rod in place while allowing you to rotate it with the help of a rotating chuck that helps you in accessing the rod easily.
DIY rod wrapping jig:
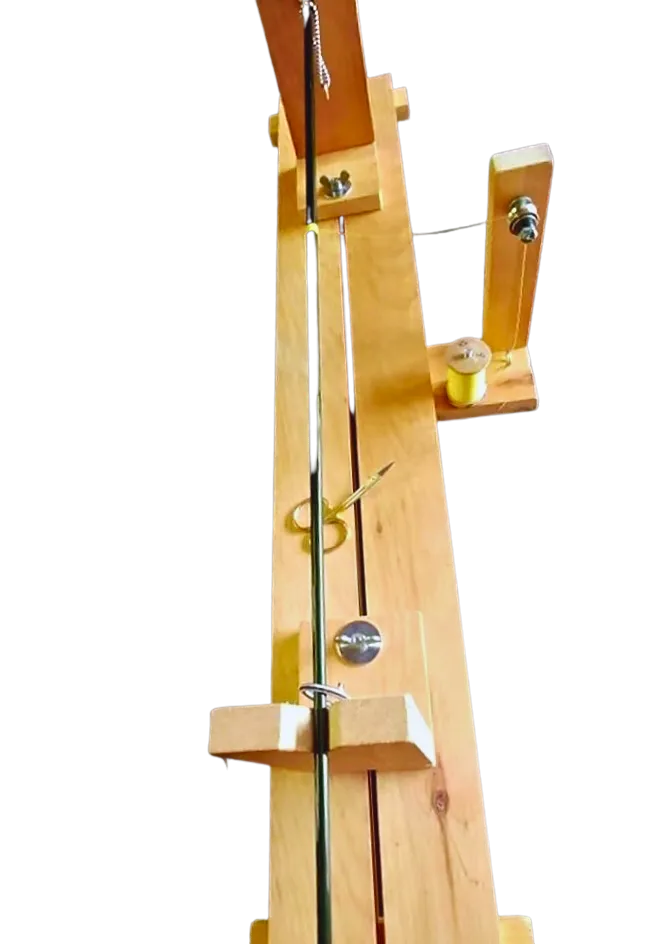
If you are on a low budget, then this is the ideal solution for you. You can create your DIY rod wrapping jig at home with the use of materials like cardboard, PVC supplies, wood, and other sturdy materials.
V-block setup:
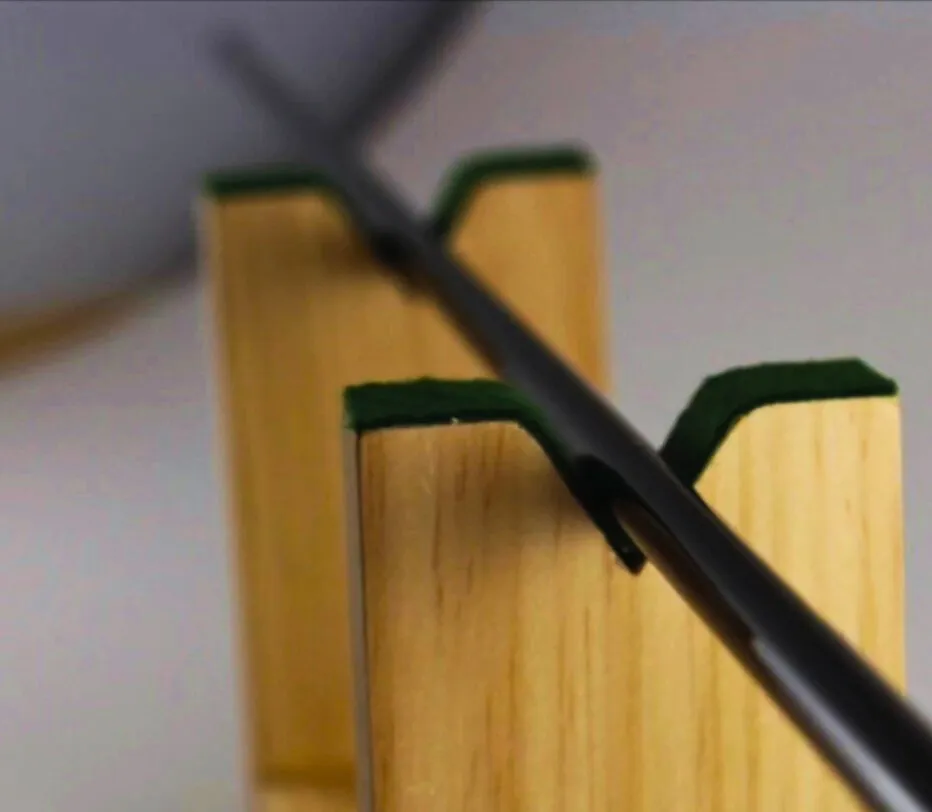
This is another convenient solution for you. This setup involves the use of two V-blocks that support your fishing rod blank from both ends. You can set the rods at your desired height and start your work.
How to secure the thread before wrapping the fishing rod?
When you start wrapping your rod, you first have to secure the thread before starting the thread wraps. If you are not sure, then I’ve got you covered. Below is a list of different ways to secure the thread.
Starting knot:
You just have to tie a small knot at the end of the thread so it doesn’t slip. You can add some glue or any other adhesive to the knot for better security.
Double overhand knot:
For this knot, you have to create a loop with the thread and just pass the tag end twice through the loop. You can apply adhesive on it so the knot stays intact.
Whipping knot:
You can make this knot by creating a loop with the thread around the rod blank and then by passing the tag end through the loop multiple times to form wraps around the rod blank. You can also tighten these wraps.
Thread anchor:
Just place a small piece of tape onto the rod blank and start wrapping the thread over the tape by using it as the anchor point. This is a very stable method for beginning your wraps.
Wrap with overlap:
For this, you have to start wrapping the thread over itself. You can make several wraps in the same spot which will result in an overlapping anchor point.
Self-tightening knot:
First, create a loop with the thread along the blank and then pass the tag end through the loop, resulting in a slipknot. You can position the knot at your desired starting point and when you’ve found it, pull the tag end so that it tightens the knot.
Steps for wrapping your fishing rod:
Now that you are aware of different styles, materials, and knots, let us move toward the actual wrapping of your fishing rod.
Step#1 Preparing the rod:
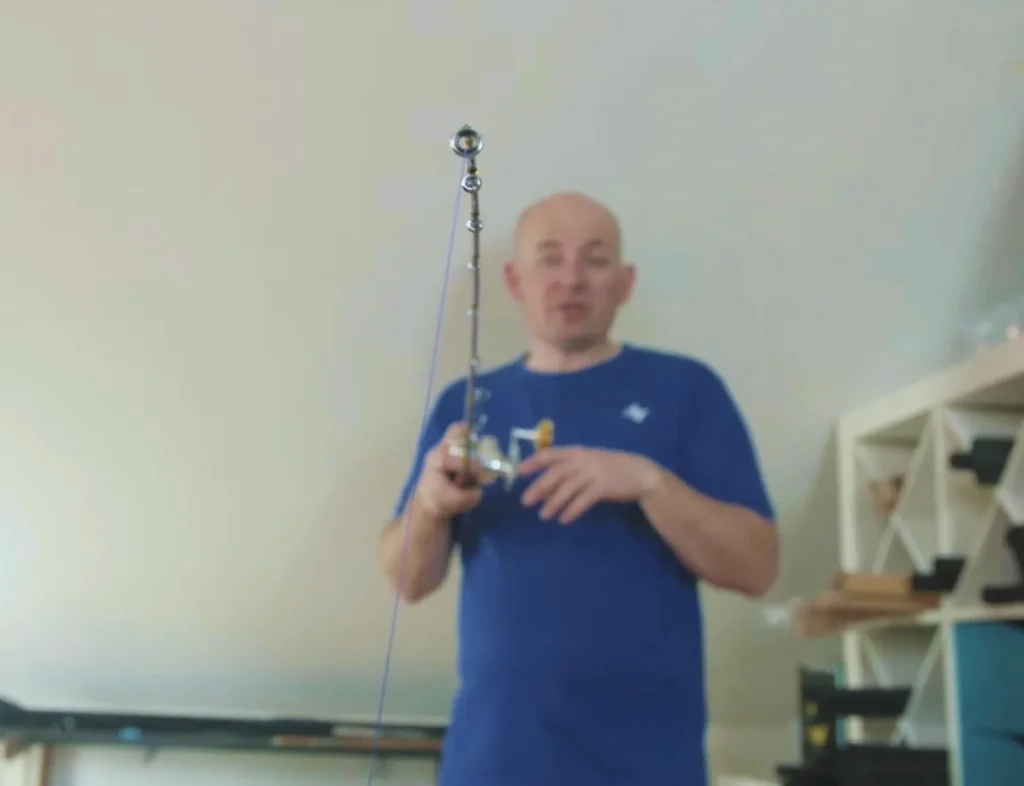
The first thing that you have to make sure of is to get your rod cleaned. Make sure that the rod blank is clean and gather all the materials needed so that they are within your easy reach. Also, if you have a fishing rod step such as a rod wrapping machine or a V-setup then this is the time to make use of it. Get it set and adjust your rod according to your convenient height.
Step#2 Preparing the thread:
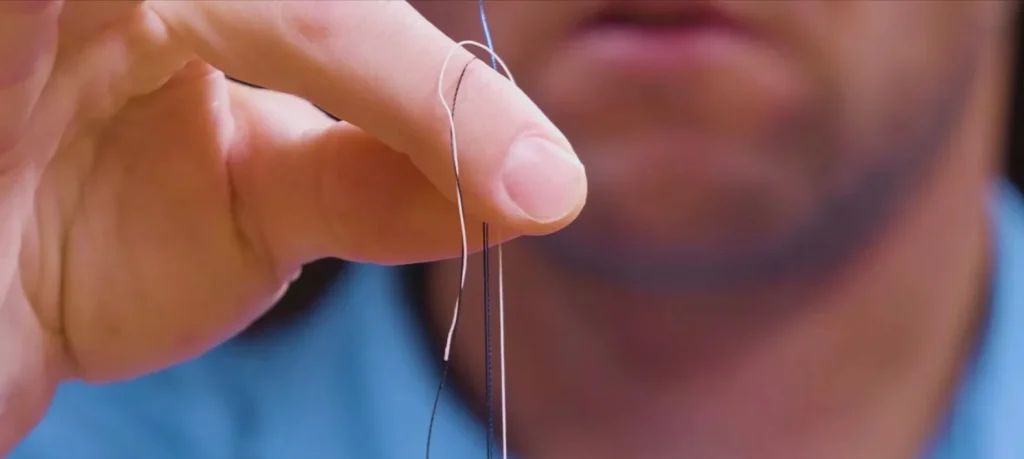
You have to cut the length of a wrapping thread. The length of your thread will depend on the part that you are going to wrap so, make a vague guess.
Step#3 Tie the thread:
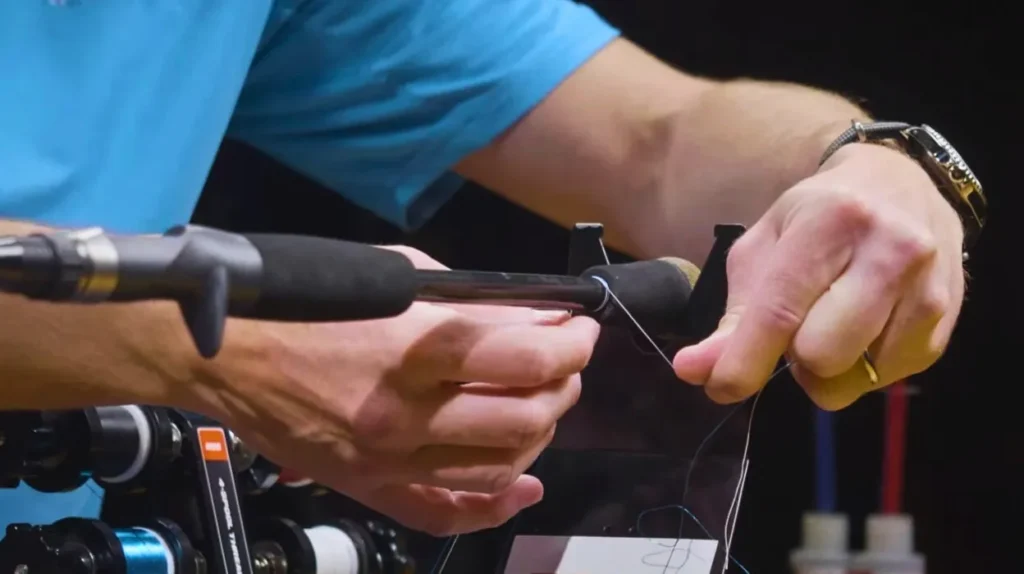
You have to tie one end of your thread with the rod blank to create a grip. You can choose the type of knot from the knot explanation above.
Step#4 Start your wrap:
Now that you have secured one end of your thread, start wrapping the fishing rod. Hold the free end of the thread against your rod blank, almost above the guide foot, and start winding the thread by working towards the guide.
Note: Make sure that the wraps are close to each other but are not overlapping. You can use gentle tension on the thread.
Step#5 Even spacing:
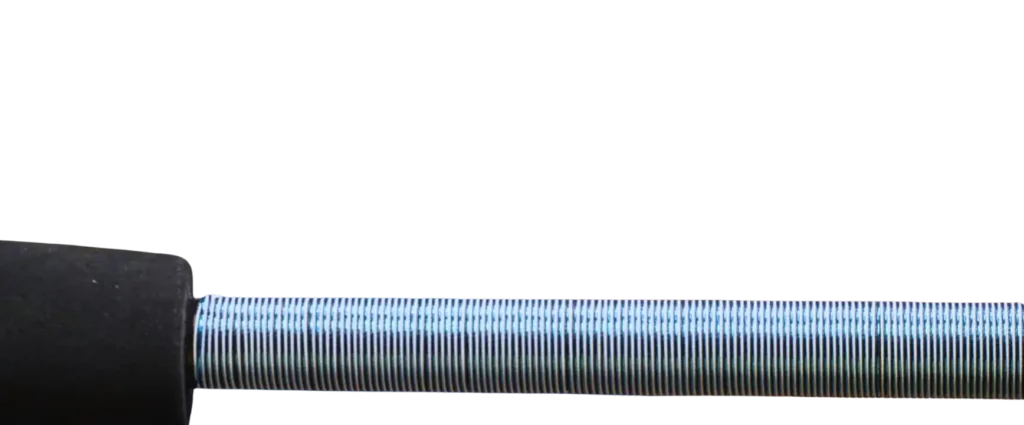
You have to maintain even spacing as you wrap. You can use your fingers to ensure that. A balanced spacing will give you a very neat and balanced look.
Step#6 Guide wraps:
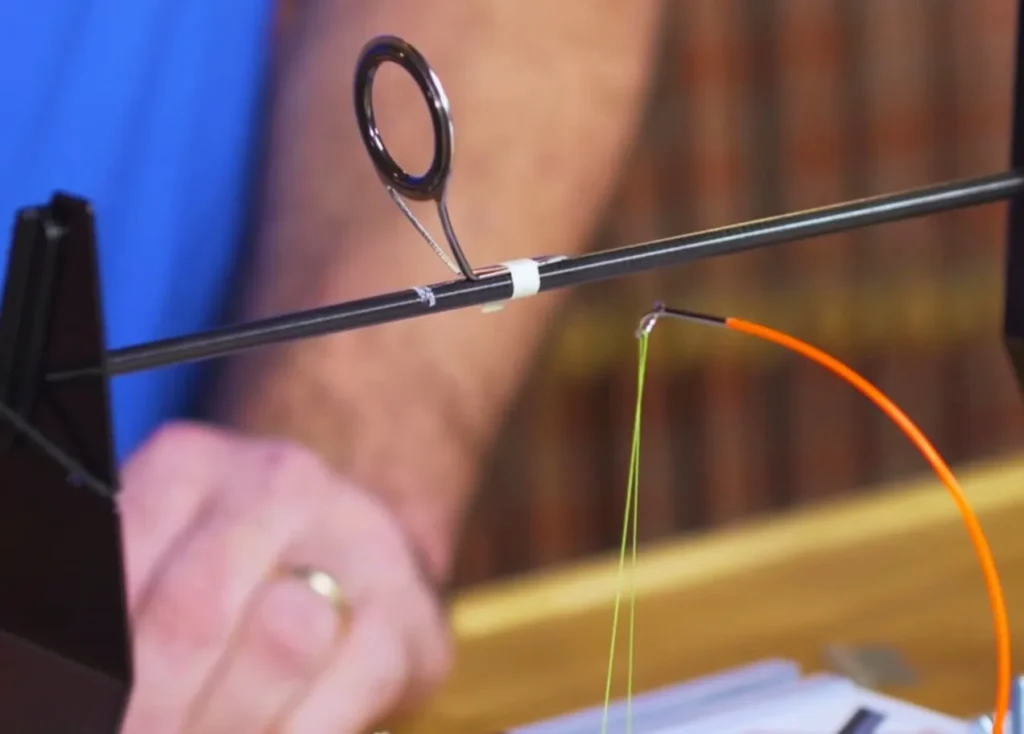
Keep wrapping the rod blank until you have covered the area under the guide foot. You can add extra few wraps around this area so that your guide is secure. In case if your guide is broke or damaged, replace your guide first
Step#7 Finishing guide wraps:
When you have finished wrapping the guide foot, cut your thread and leave a small tail. To prevent the thread from unraveling itself, you can apply some rod wrapping thread finish to secure it.
Step#8 Wrapping the blank:
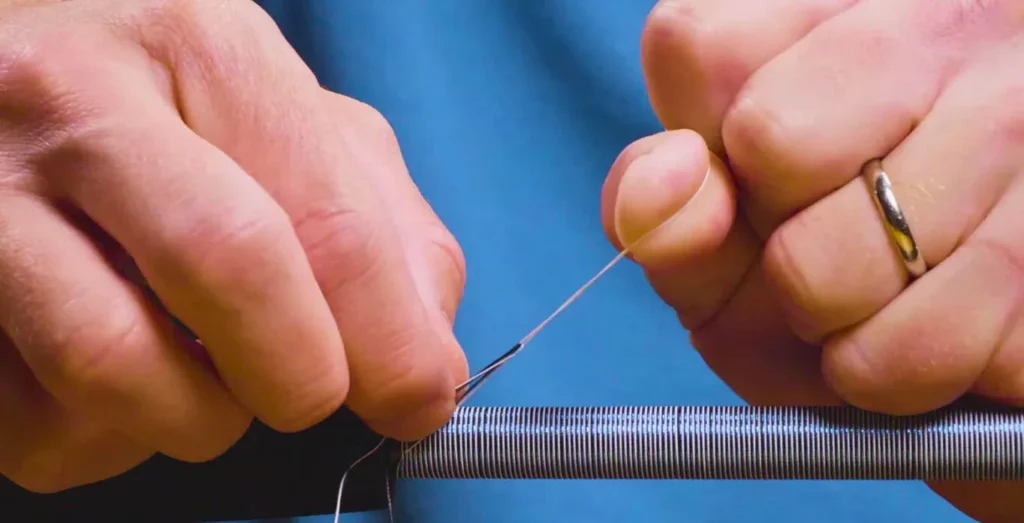
Continue your wrap along the length of the rod blank until you move towards the handle or butt section. Throughout this process, you have to maintain consistent tension and balanced spacing.
Step#9 Change colors:
This is an optional step. If you are working with an intricate style that requires different colors then first secure the thread of the current color and then add a new thread with a new knot.
Step#10 Applying finish:
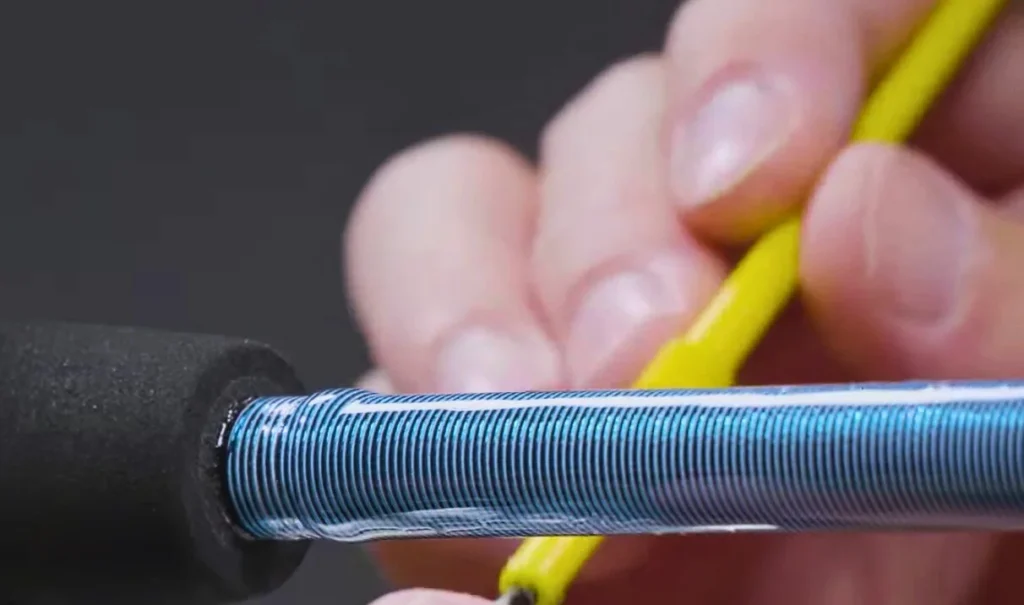
Now that you have completed the desired number of wraps and secured all of the threads, apply rod wrapping thread epoxy onto the wraps. For an even distribution, use a brush. This will give a very fine and smooth look to your wraps.
Step#11 Curing:
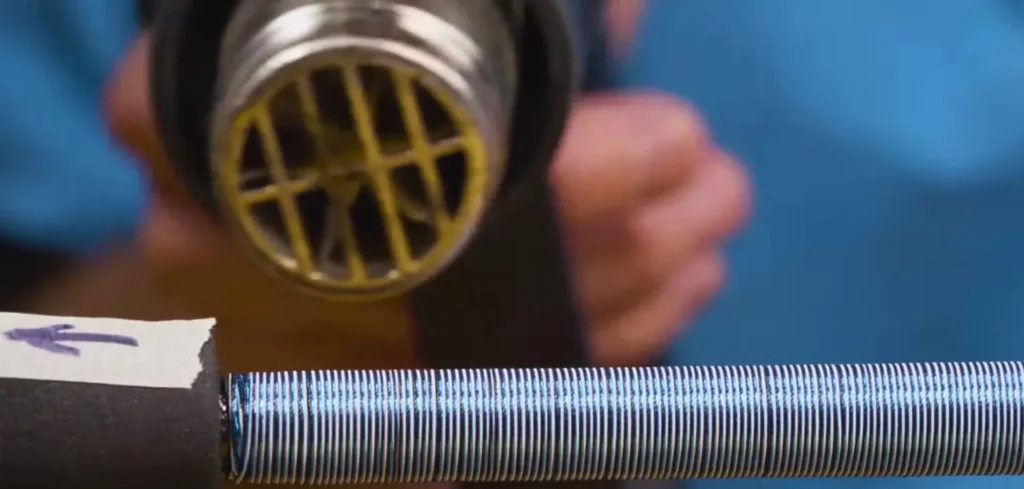
After applying the finish, let the epoxy on your rod dry. Follow the time given in the instructions for the epoxy packaging. Do not touch it before that. It is recommended to leave it for 24 hours.
Step#12 Final coating:
When the epoxy has fully cured, you can apply a final coating of the finish over the wraps for extra protection. This will also help you in enhancing the look.
Step#13 Trimming and Final touching:
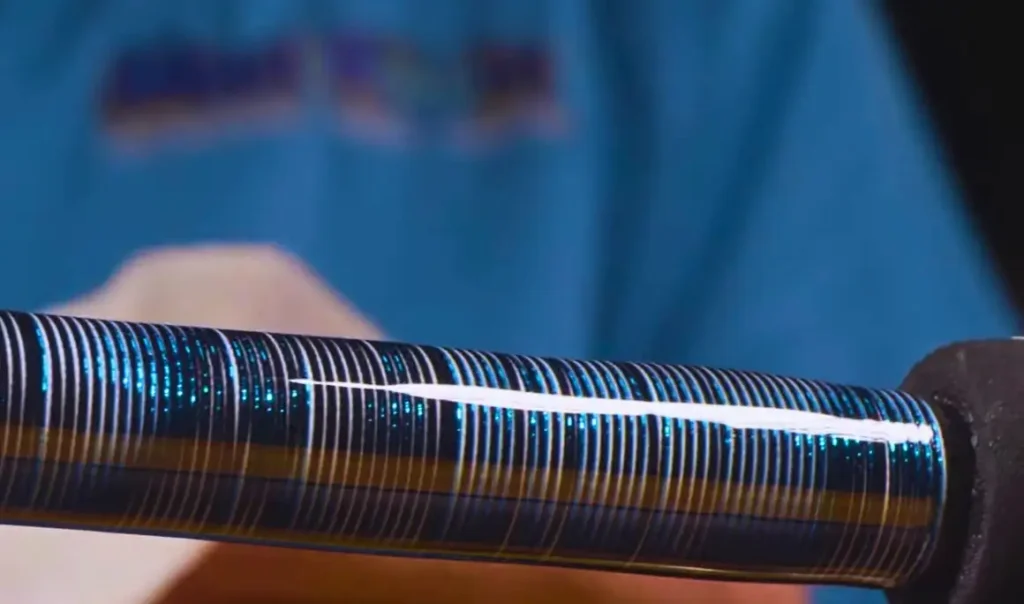
If there is any excessive epoxy that might have dripped during the process or any thread end that is left, trim it. Check for any imperfections and make adjustments.
Step#14 Inspection:
Once you are done with everything, inspect your rod for any further adjustments. Check the flexibility of your rod and make sure that your guides are properly aligned.
I’m sure that following the steps above will give a good appearance to your fishing rod.
Are there any alternatives to thread for wrapping your fishing rod?
Thread is considered convenient for wrapping a fishing rod. However, there are some alternatives to it. You have to keep one thing in mind that different alternatives will have different properties and different applying methods. Here is a list below:
Fishing line:
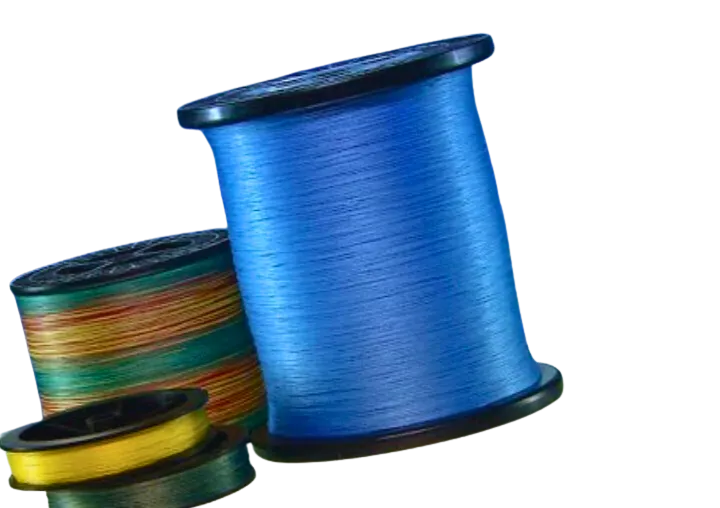
It is thin, strong, and durable but challenging to work with.
Yarn:
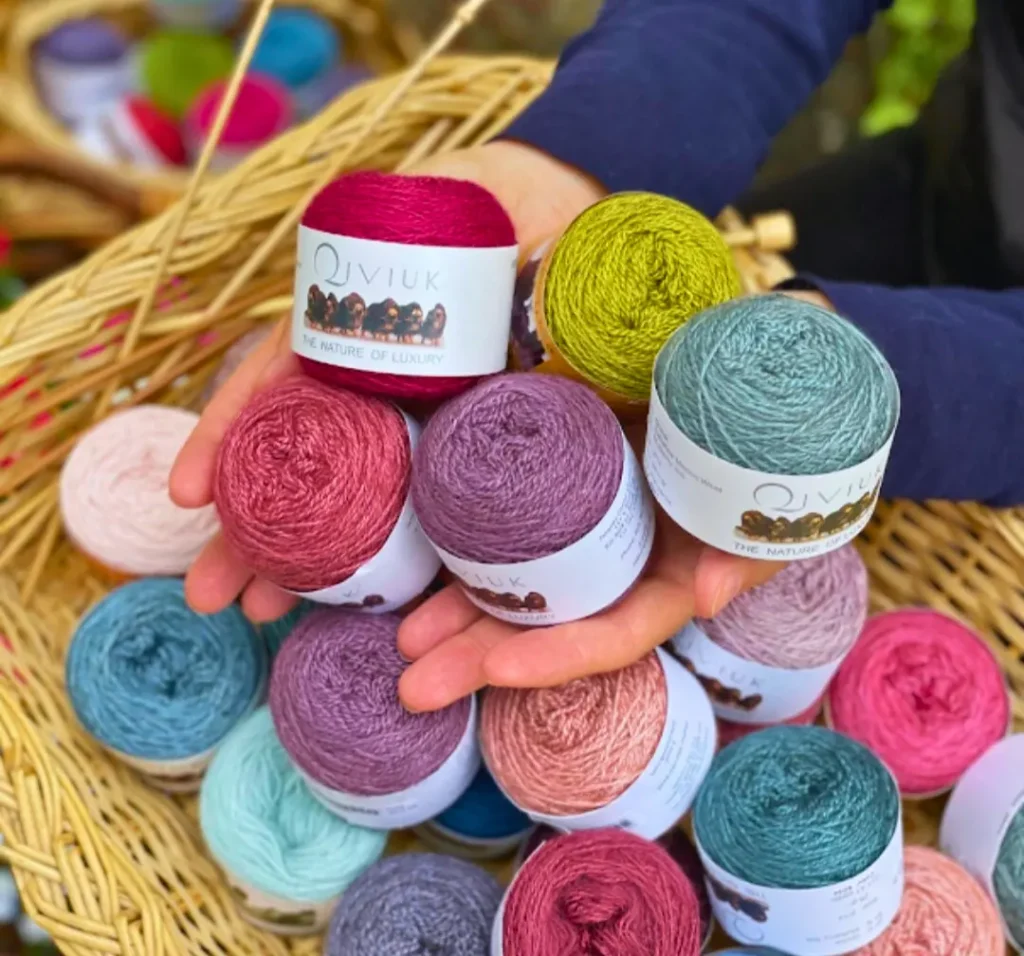
It is thicker so it may require different wrapping techniques.
Vinyl wrap material:
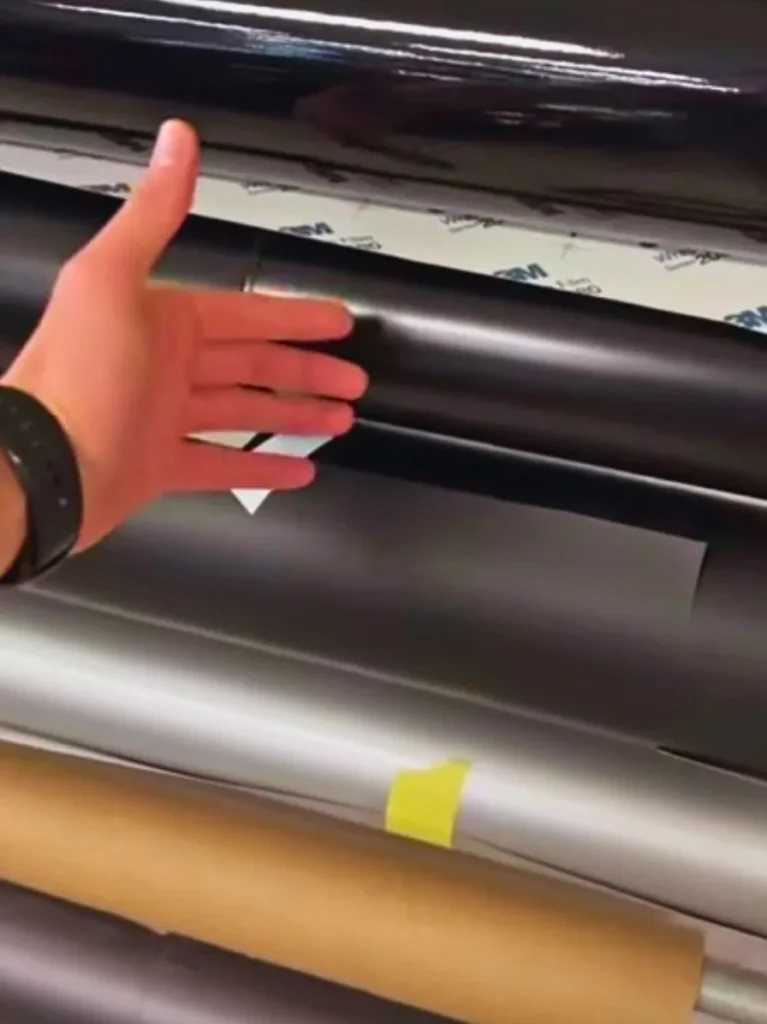
It is challenging to work with but can provide a unique look.
Paracord:
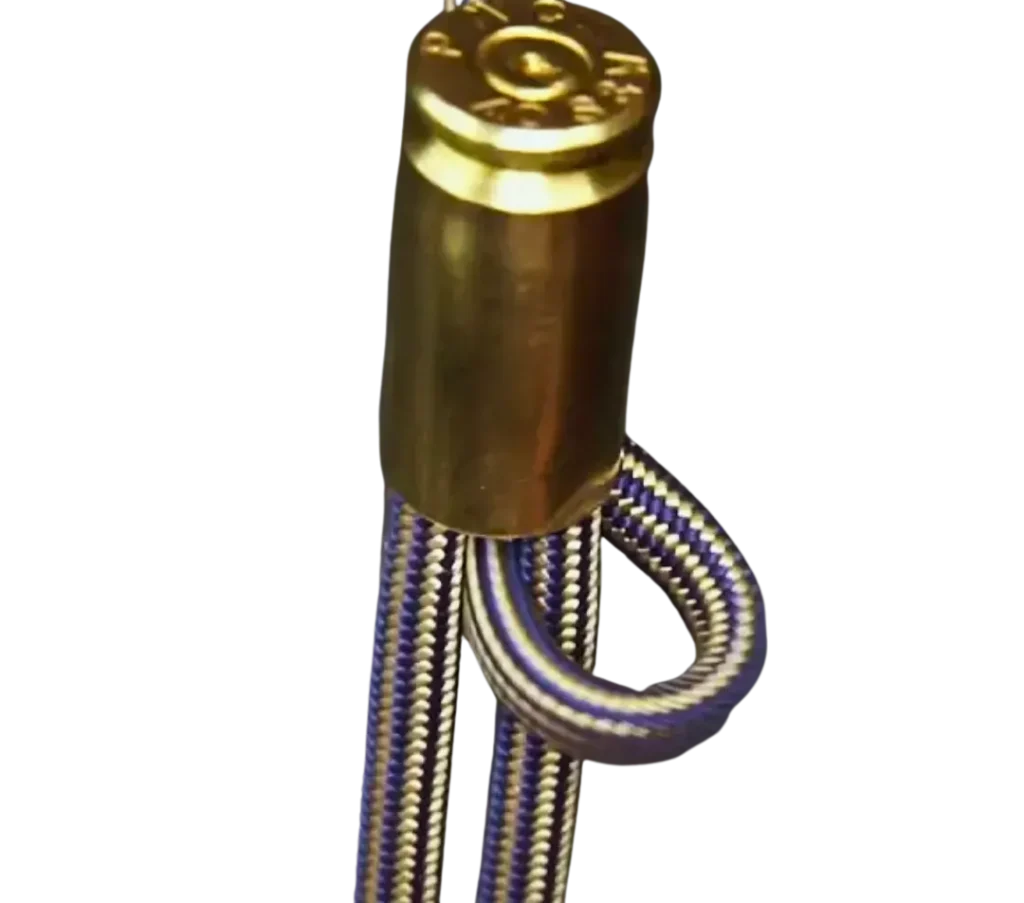
It can be used for wrapping rod guides due to its durability.
Silk thread:
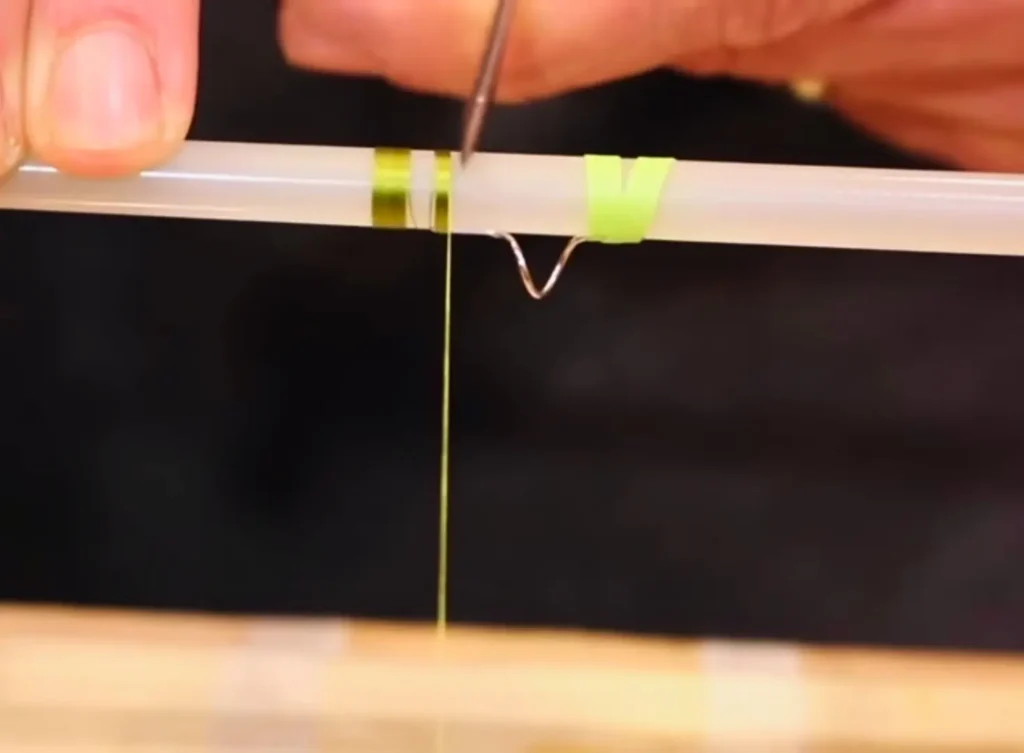
It can be used for a glossy texture.
Metallic chord:
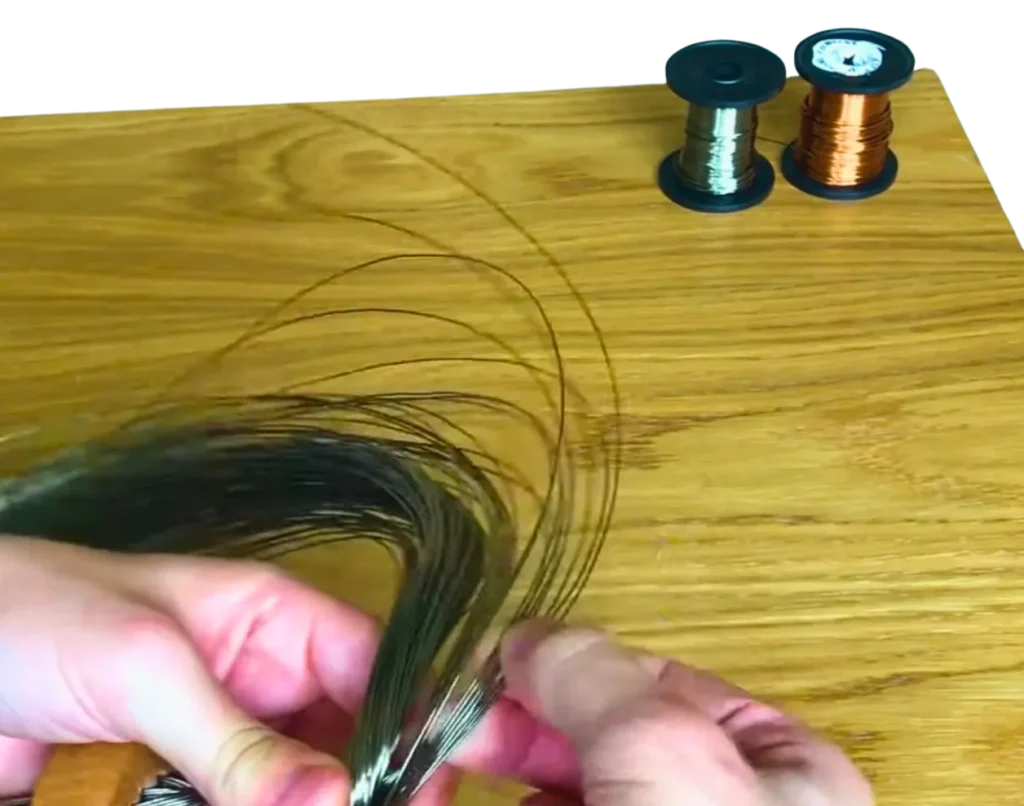
It can create a flashy look but it might interfere with the functionality of your fishing rod.
Leather strips:

They can be used for a rustic look but they won’t be durable.
Is a fishing rod a good present for Christmas?
A fishing rod can make a great present if it is for the right person. If the recipient loves outdoor activities, has an interest in adventures, and likes developing new skills then go for it. However, make sure that the fishing rod is appropriate for their age, especially if the recipient is a child.
And If your special someone is far away and you want to send them the perfect gift that resonates with their love for fishing, consider shipping them a fishing rod. Check out our guide on ship a fishing rod to ensure it reaches them safely and adds an extra touch of thoughtfulness to your surprise
Wrapping a fishing rod for Christmas:
The fishing rod can be a great gift but you have to put it in a package before giving it to somebody. To ensure the protection of your fishing rod, it is crucial to learn about its packaging.
I will make it simple for you. If you want to make the recipient know about the package immediately then go for the paper or fabric wraps. Otherwise, stick to the box concealment packaging. Here are some packaging options enlisted below:
Fishing rod case:
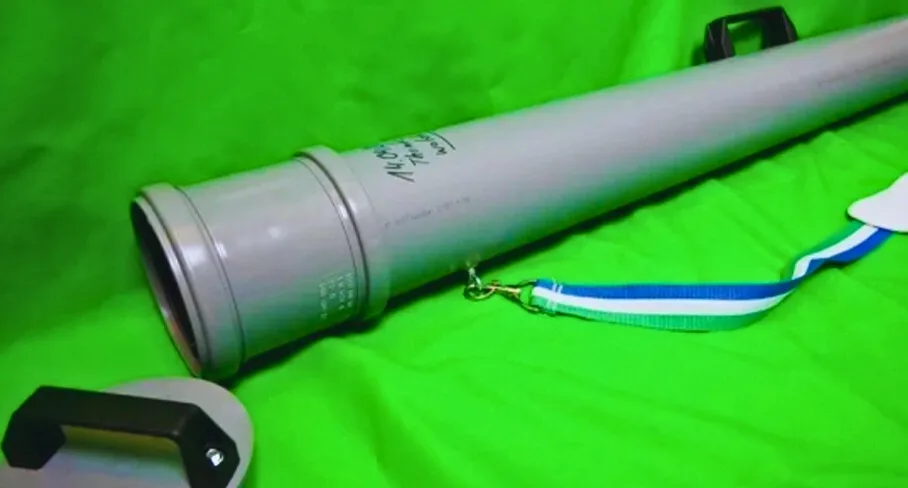
An ideal choice for better protection. These cases or tubes often come with straps that help in securing the rod in its place so it does not get damage during moving. It is a good and safe option for traveling.
Custom rod socks:
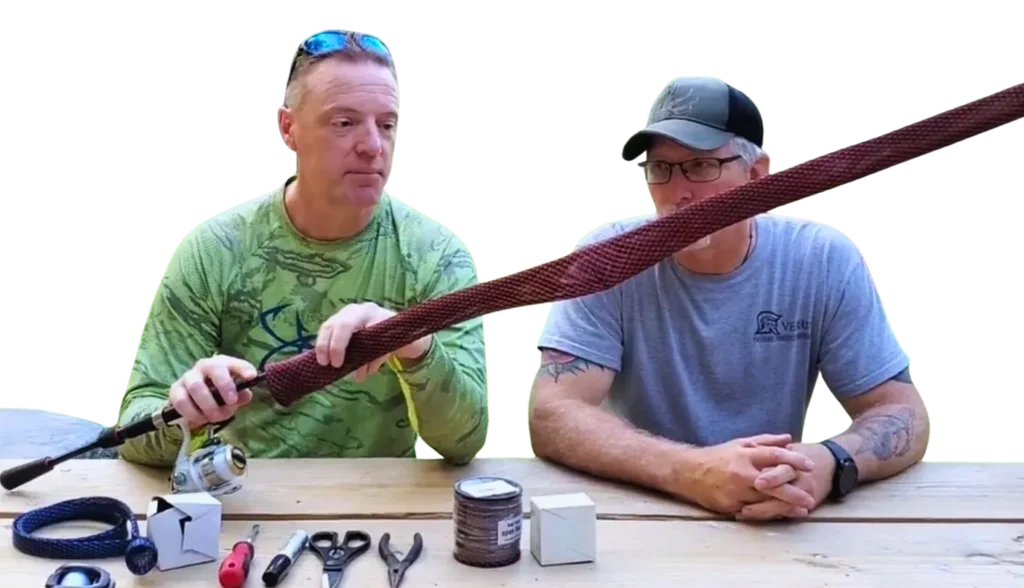
These socks are specifically designed for rods and act as easy storage. They can add good aesthetics for Christmas. You can choose a vibrant color and wrap it with a ribbon or a lace.
Gift Box:
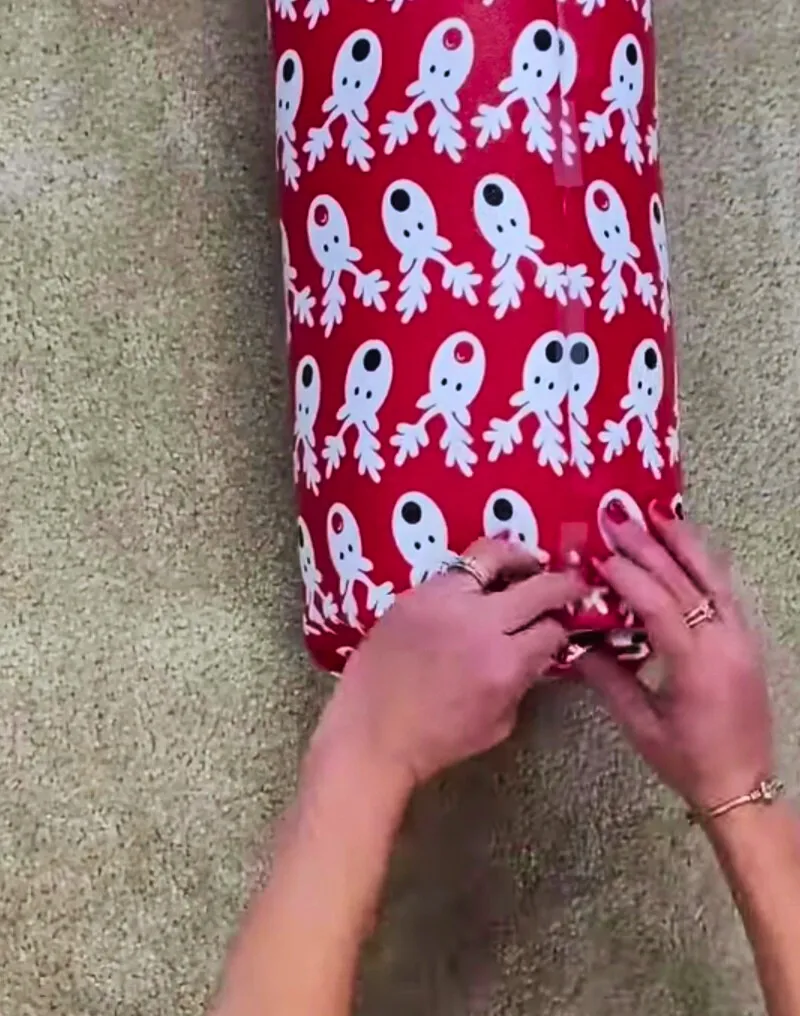
For different occasions, such as Christmas, a gift box is a perfect choice. You can choose your custom size according to the size of your fishing rod. You can even get your gift box wrapped in different colors and add cards with it.
Wooden crate:
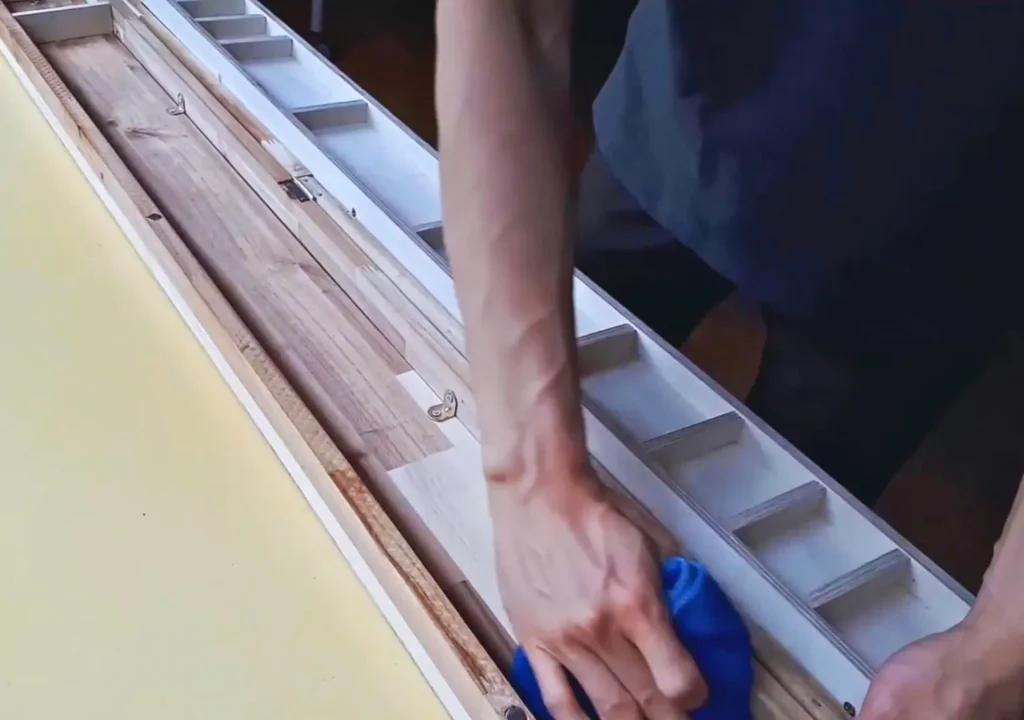
This is a good option if you are into aesthetics and need a rustic look for the packaging. A wooden crate might add some extra weight for you but it is among the safest options if you have to travel with your fishing rod.
Fabric wrapping:
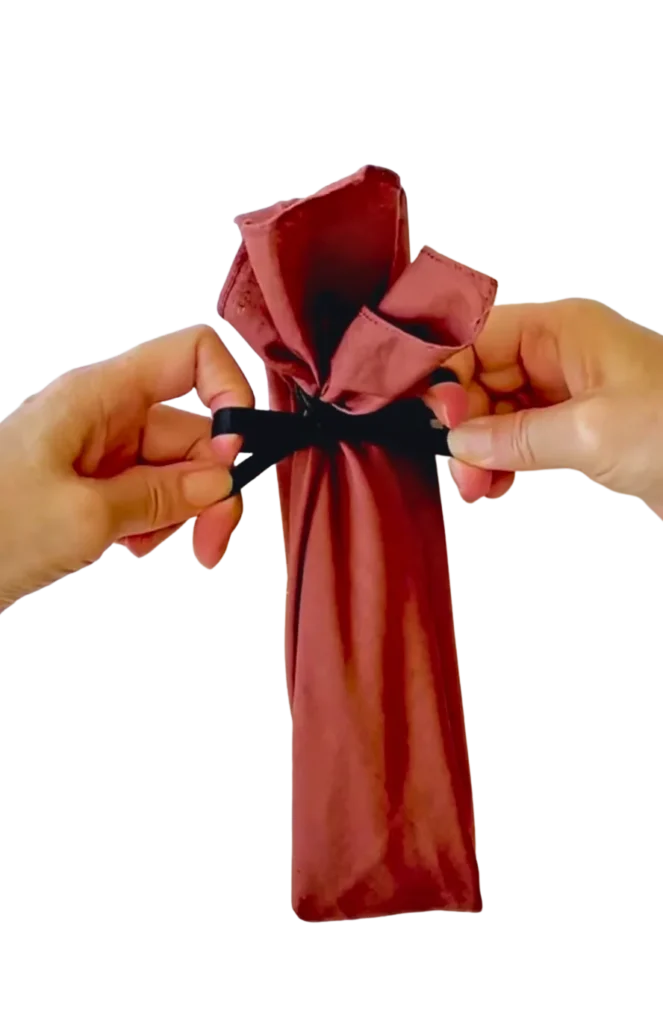
You can use a durable fabric such as burlap or canvas and secure it with a ribbon. It can let the recipient know instantly that what is inside the fabric. You will have a variety of colors to choose from.
Sporting goods bag:
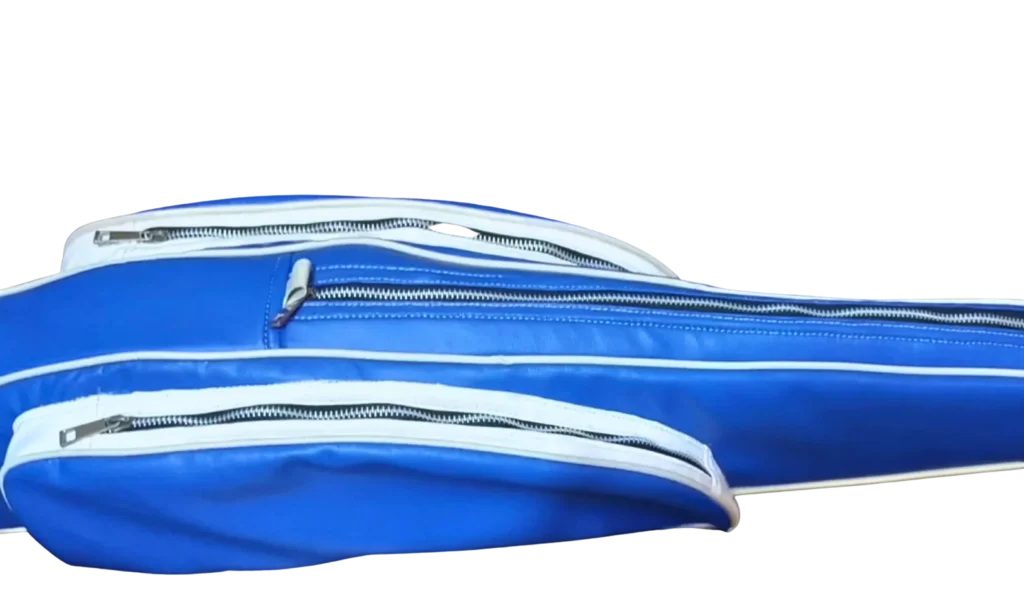
You can opt for sporting goods bags that are designed for fishing equipment. These bags often have compartments for other fishing gear such as rods and reels.
DIY packaging:
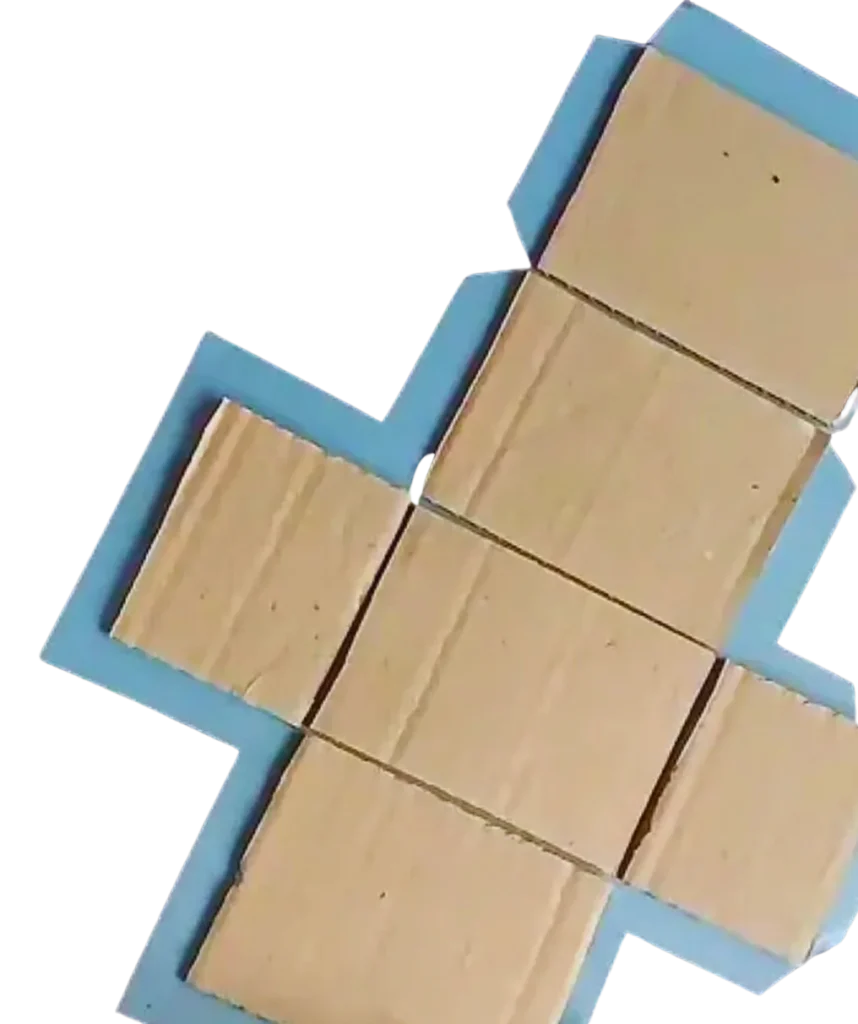
You can create custom packaging for your fishing rod by decorating a cardboard tube or a box. You can add stickers or notes on the box as well to improve the aesthetics.
Decorative paper:
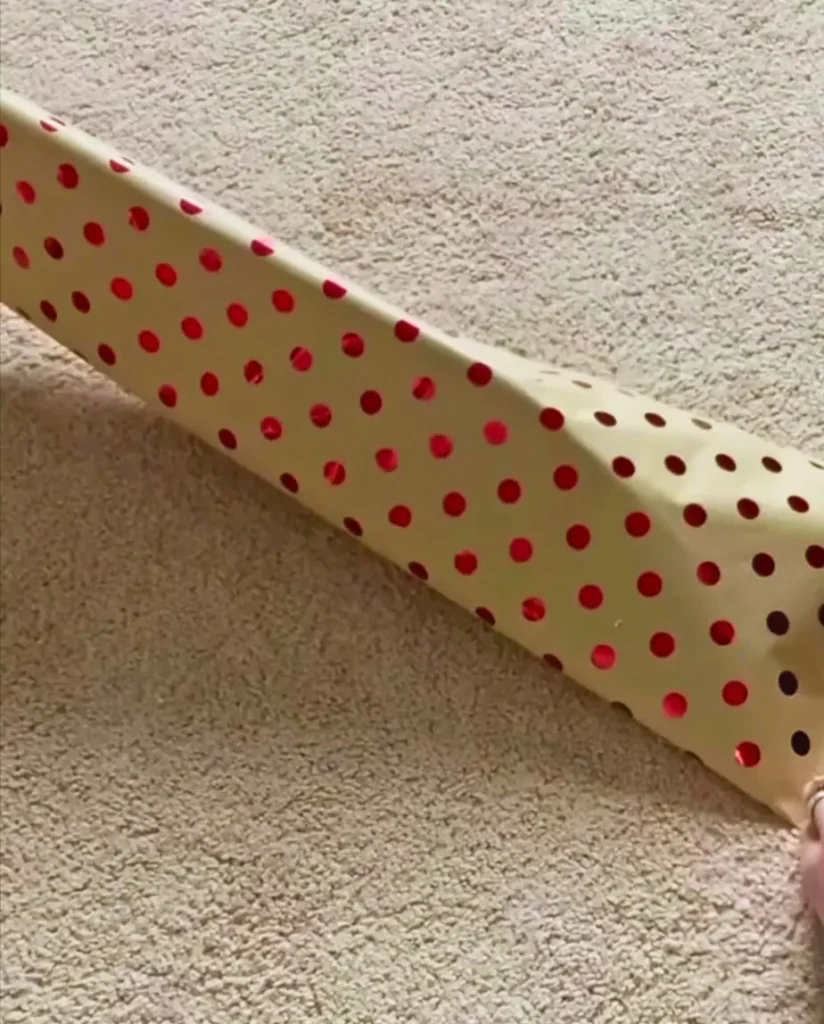
For a simple look, wrap the fishing rod with decorative paper and tie it with a ribbon. You can choose decorative paper in different styles. It is the simplest method out there. You just have to cut the paper according to the length of your fishing rod and wrap it. Use tape to secure the paper and simply tie a ribbon around it.
What fishing gifts you can add with a fishing rod?
There are a lot of gift combinations that you can make with a fishing rod as a Christmas present. You can add a selection of hooks and lures, a fishing reel, fishing lines, or a tackle box. There is a variety of gifts for fishing in the market that you can choose from.
Final words:
In the end, I will again repeat that do what you feel is right for you. Decide your preferred styles according to your taste and do not let anyone else steal your moment. So, you do you, always!
